Celebrate New Year with Black-Eyed Peas: A Delicious Recipe

It is almost the holidays and my family has a few traditions for Christmas and especially New Years. Usually though we have forgotten to pick up black eyed peas until that time period after Christmas and before New Years so I’ve learned to keep the dried beans on hand year round now!

In some cultures, eating black-eyed peas on New Year’s Day is considered a tradition that brings good luck and prosperity for the coming year. This practice is particularly common in the Southern United States. The peas are thought to symbolize coins or wealth, and the tradition has been passed down through generations as a superstition associated with ensuring a prosperous start to the new year.

Black-eyed peas are a nutritious food with several health benefits. They are a good source of protein, fiber, and various vitamins and minerals. Some potential benefits include:

1. **Rich in Protein:** Black-eyed peas are a plant-based source of protein, which is essential for muscle repair and overall body function.

2. **High in Fiber:** The fiber content in black-eyed peas promotes digestive health and can help regulate blood sugar levels.

3. **Vitamins and Minerals:** They contain vitamins such as folate and vitamin A, as well as minerals like potassium and iron, contributing to overall health.

4. **Heart Health:** The fiber, potassium, and folate in black-eyed peas may support heart health by helping to manage blood pressure and reduce the risk of cardiovascular issues.

5. **Weight Management:** The combination of protein and fiber can contribute to a feeling of fullness, potentially aiding in weight management.

In addition to their nutritional value, black-eyed peas are versatile and can be used in various recipes, making them a healthy addition to a well-balanced diet.

Over the years, I’ve tried a few different versions of black eyed peas until one New Years a couple years back, I asked to take over duties and made this recipe that has now solidified me making it for my family every January 1!

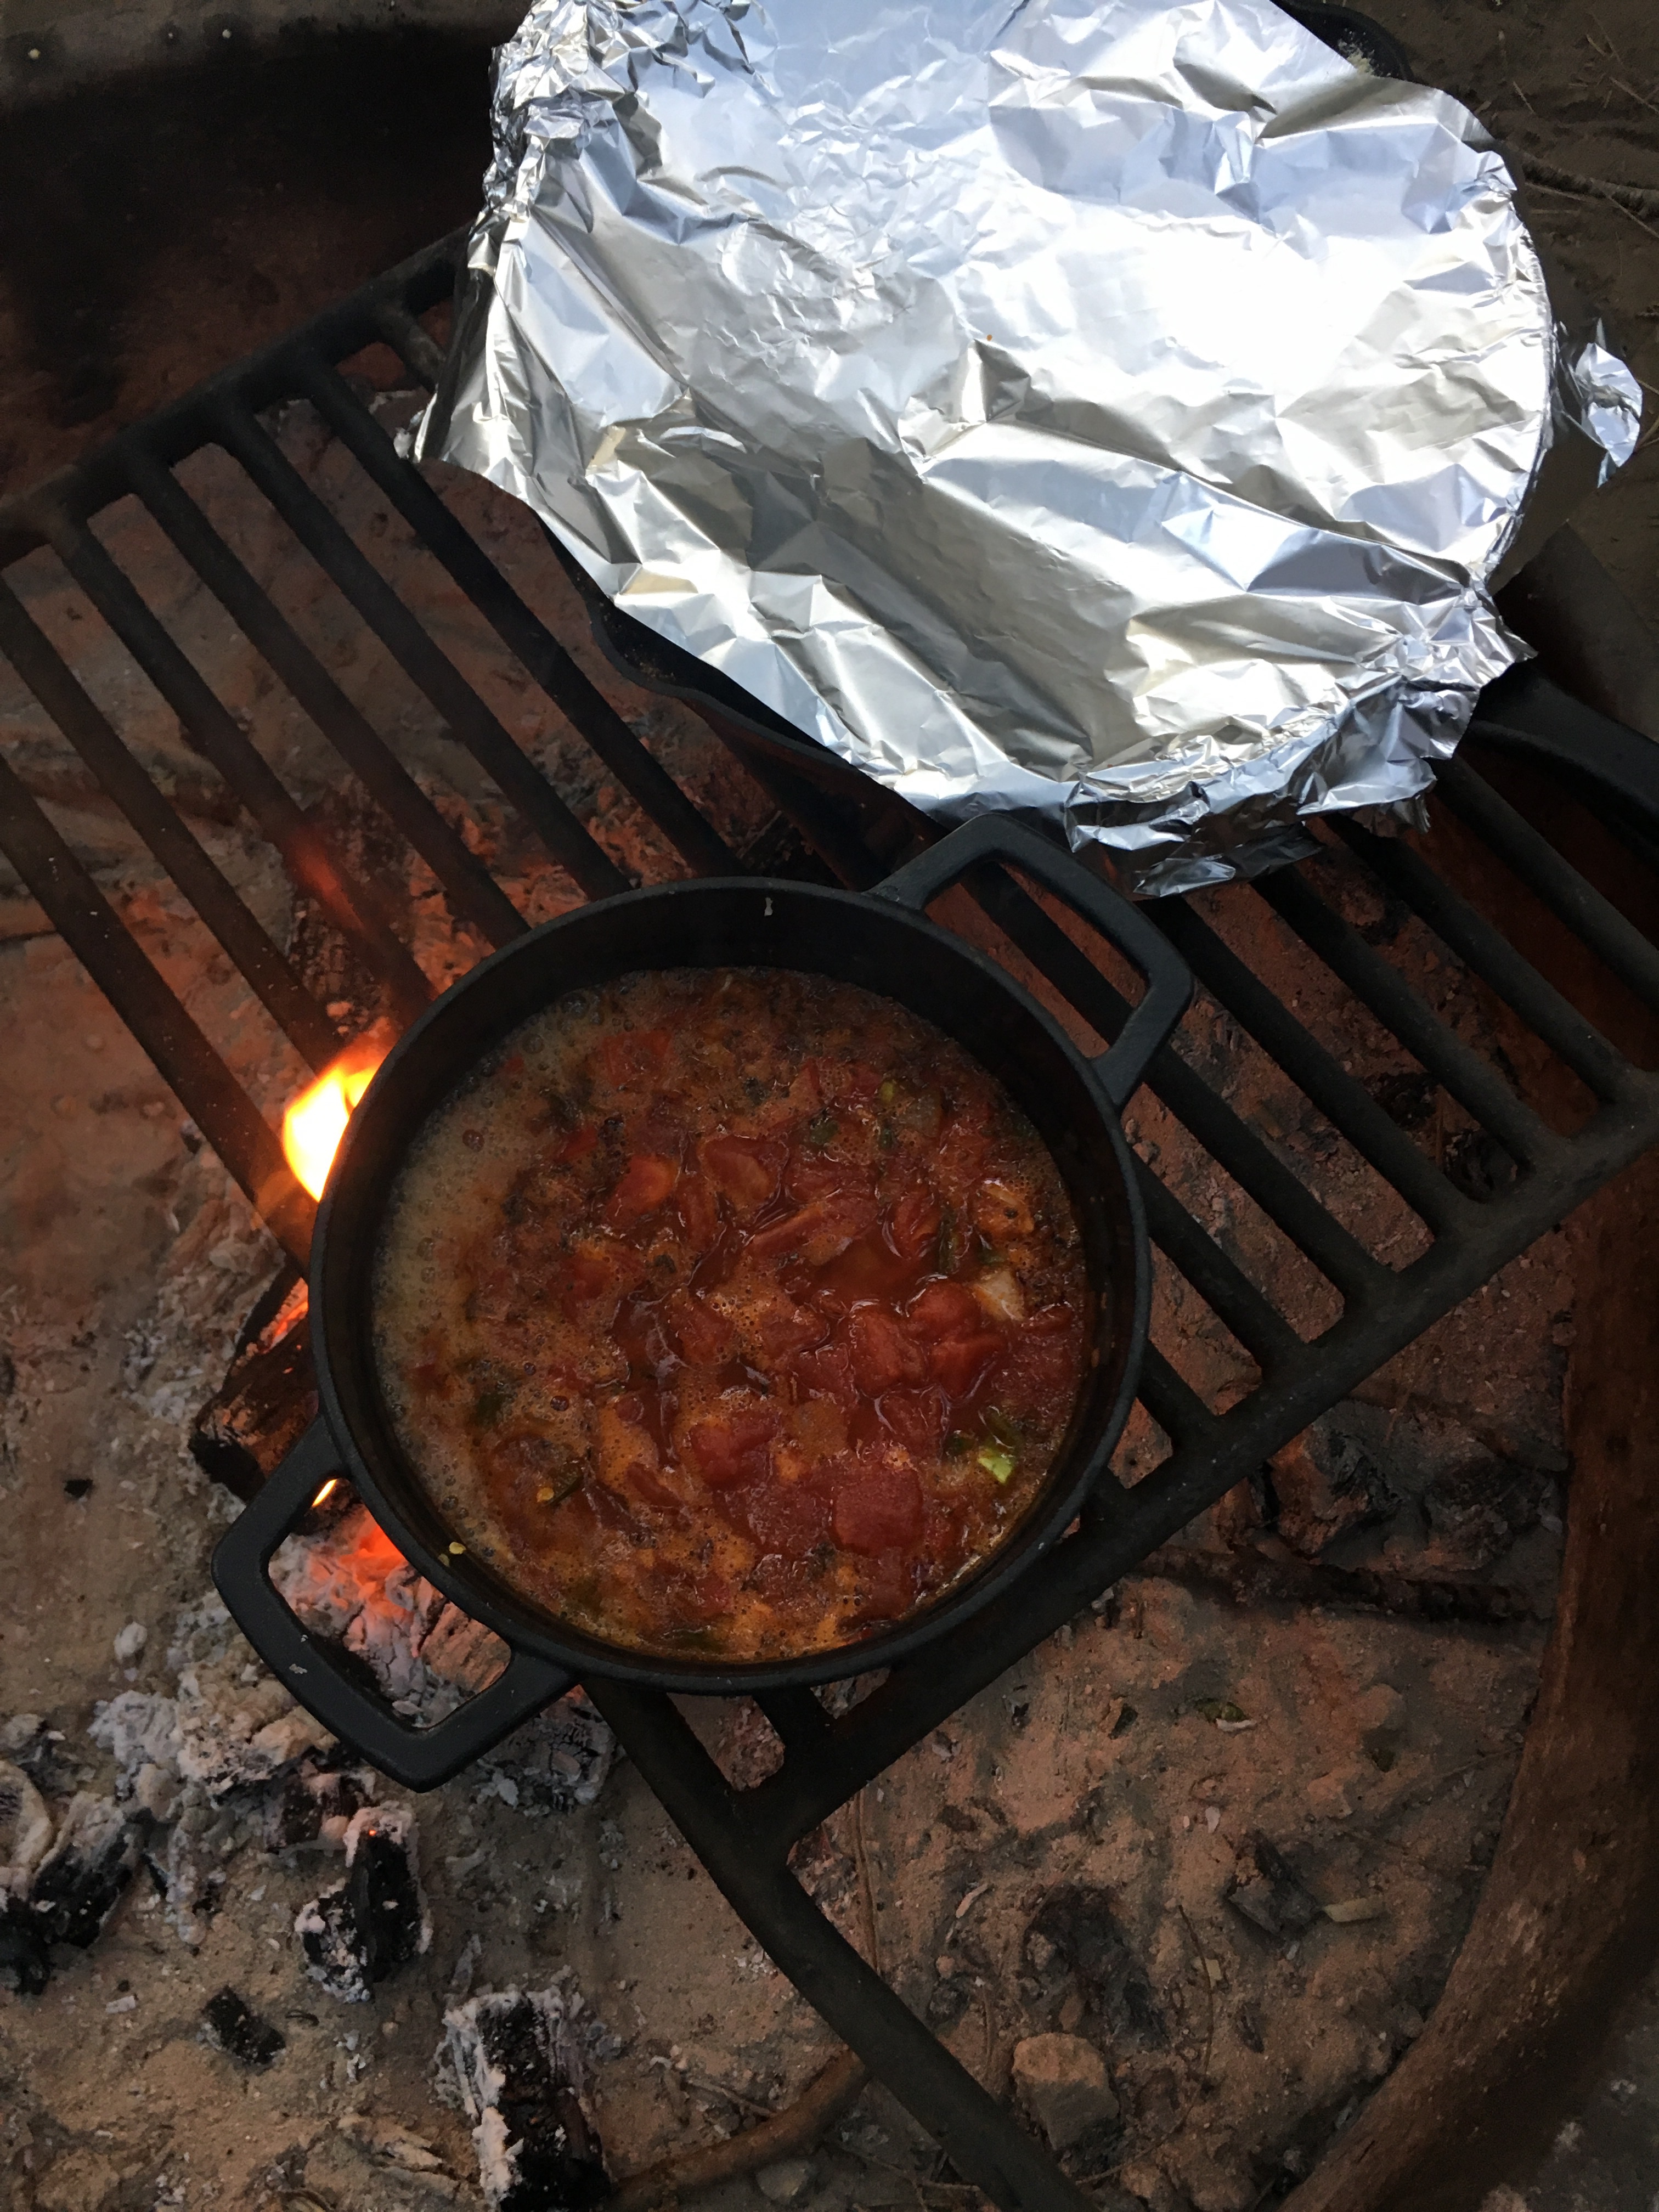
This past summer, since I like the recipe so much, I thought to try out on my friends while camping. I usually make some kind of soup the last night and thought this could be the option. I am happy to report it was a hit with my friends in the wilderness just as much as my family warming up to it on a cold New Year’s Day around a bayberry candle watching the Rose Parade!

Ingredients

  • 2 cups black-eyed peas, dry (or 2 cans not dry)
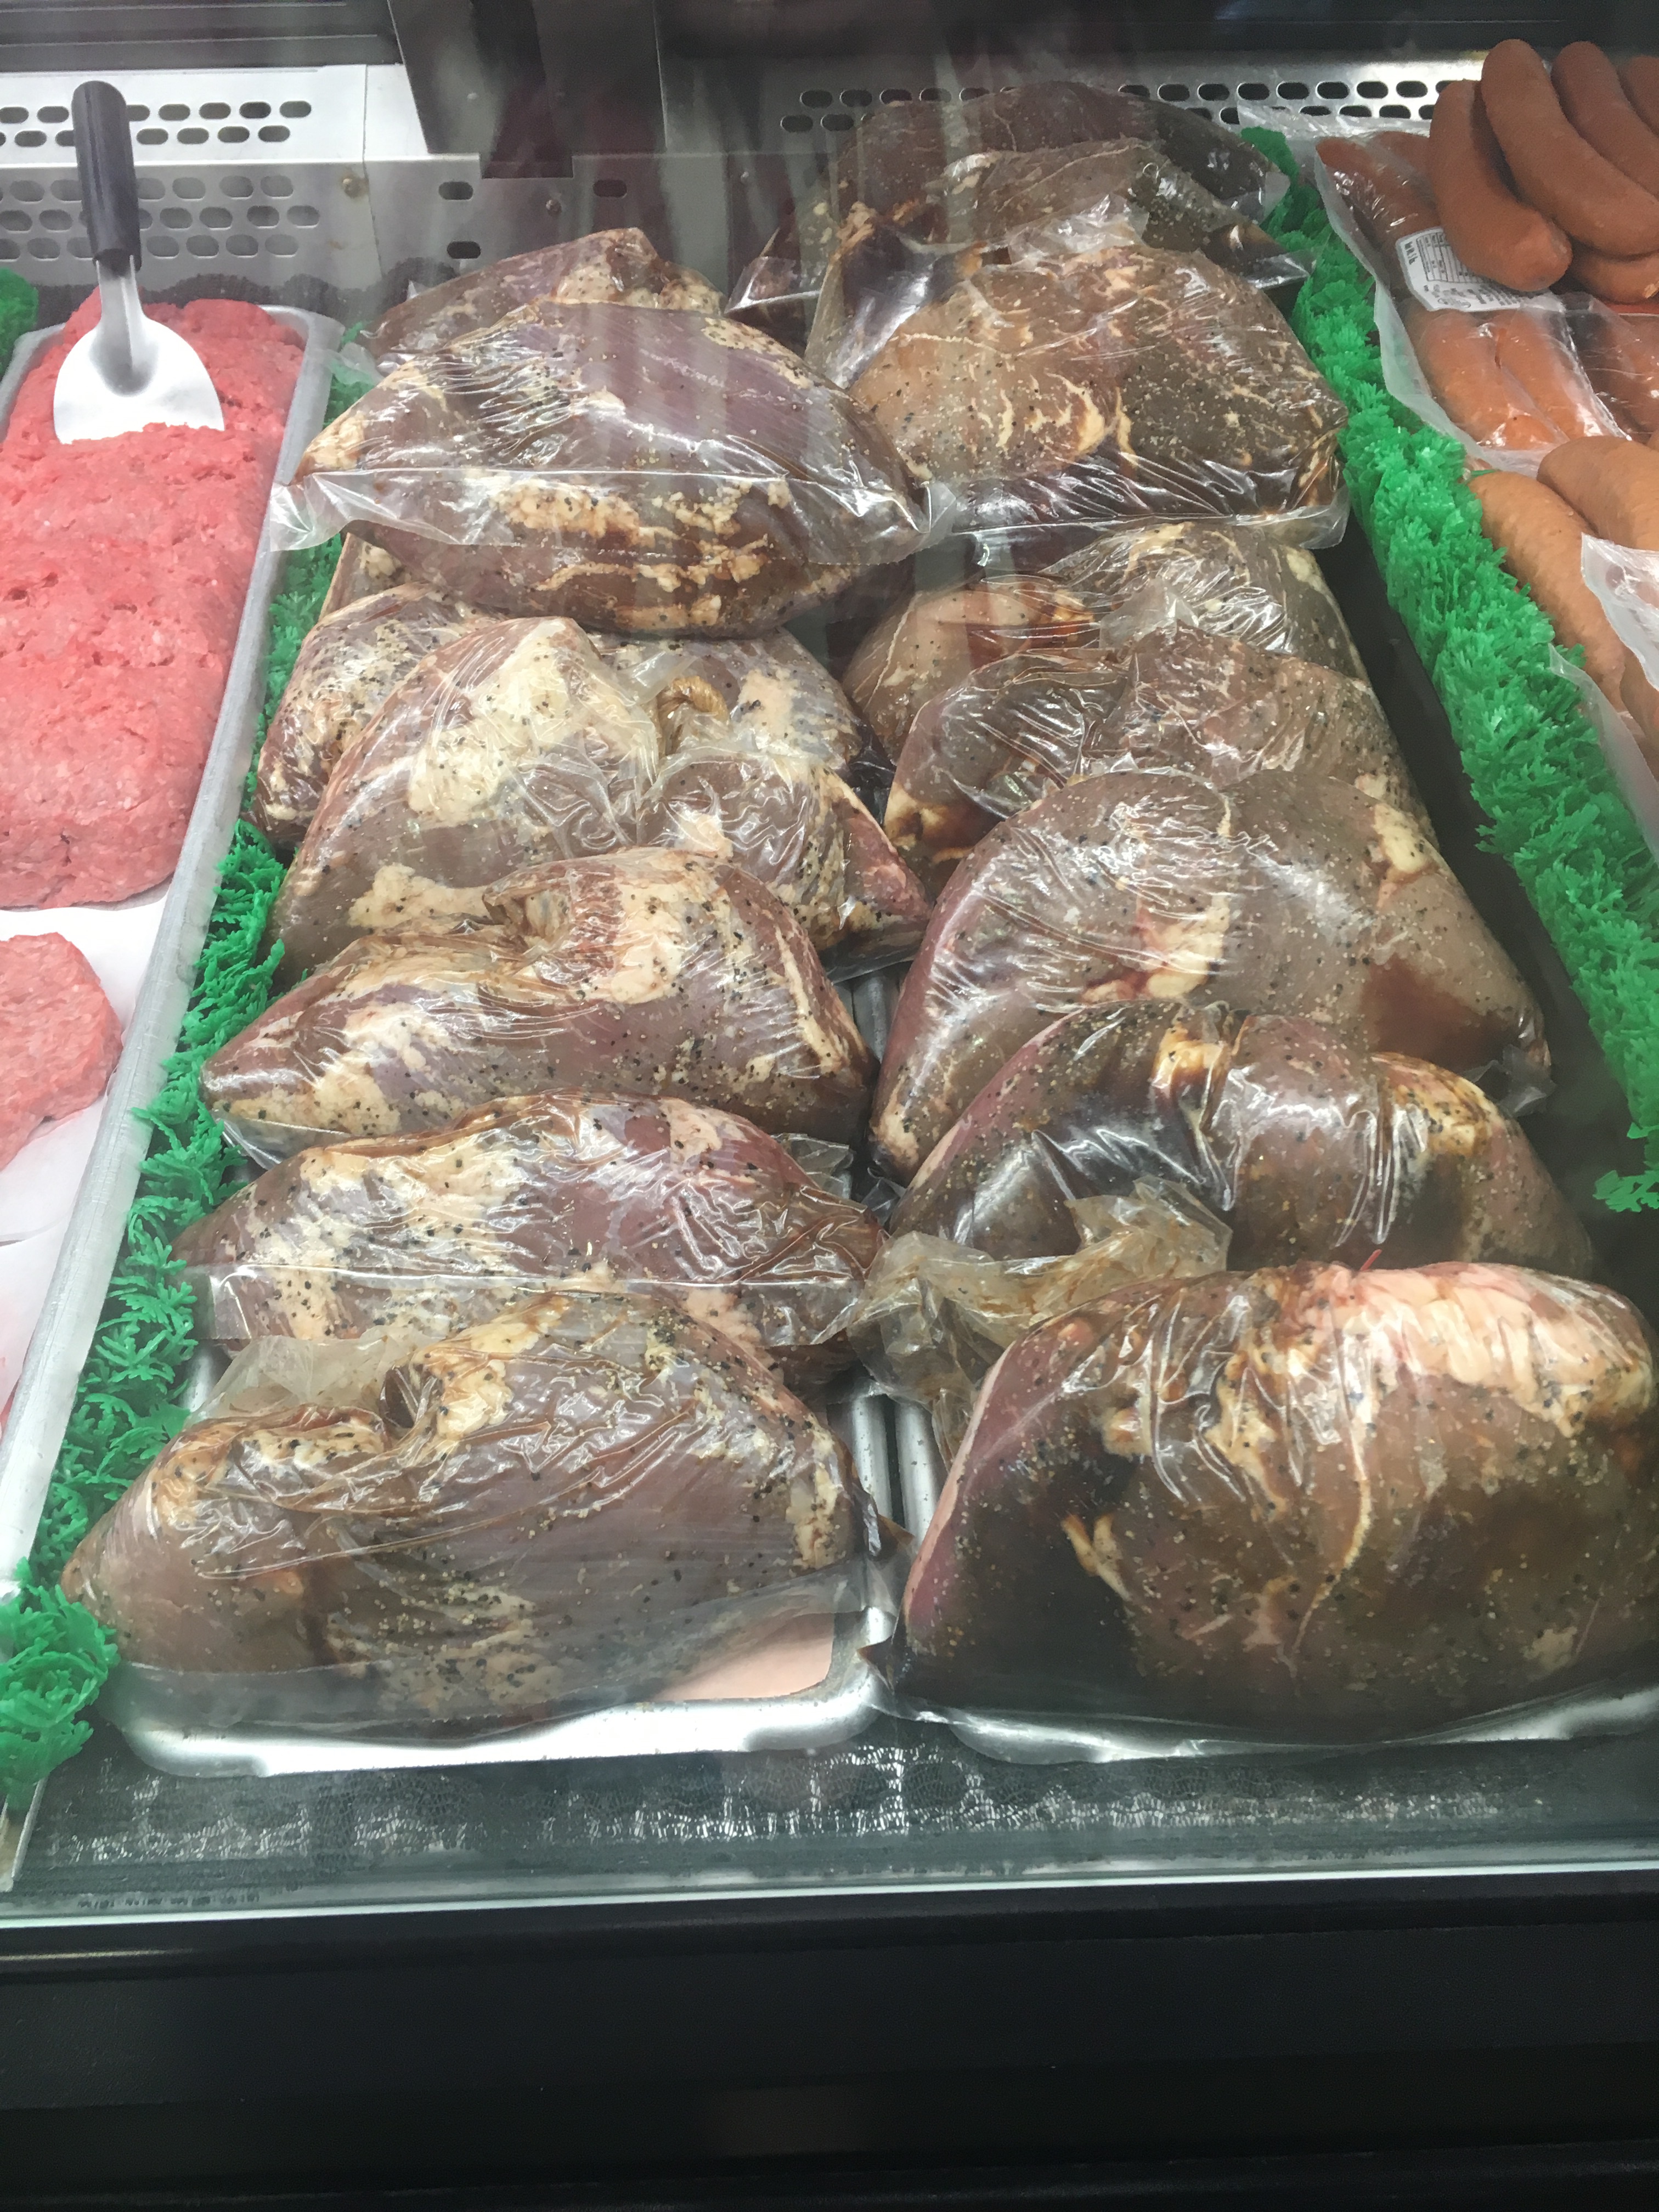
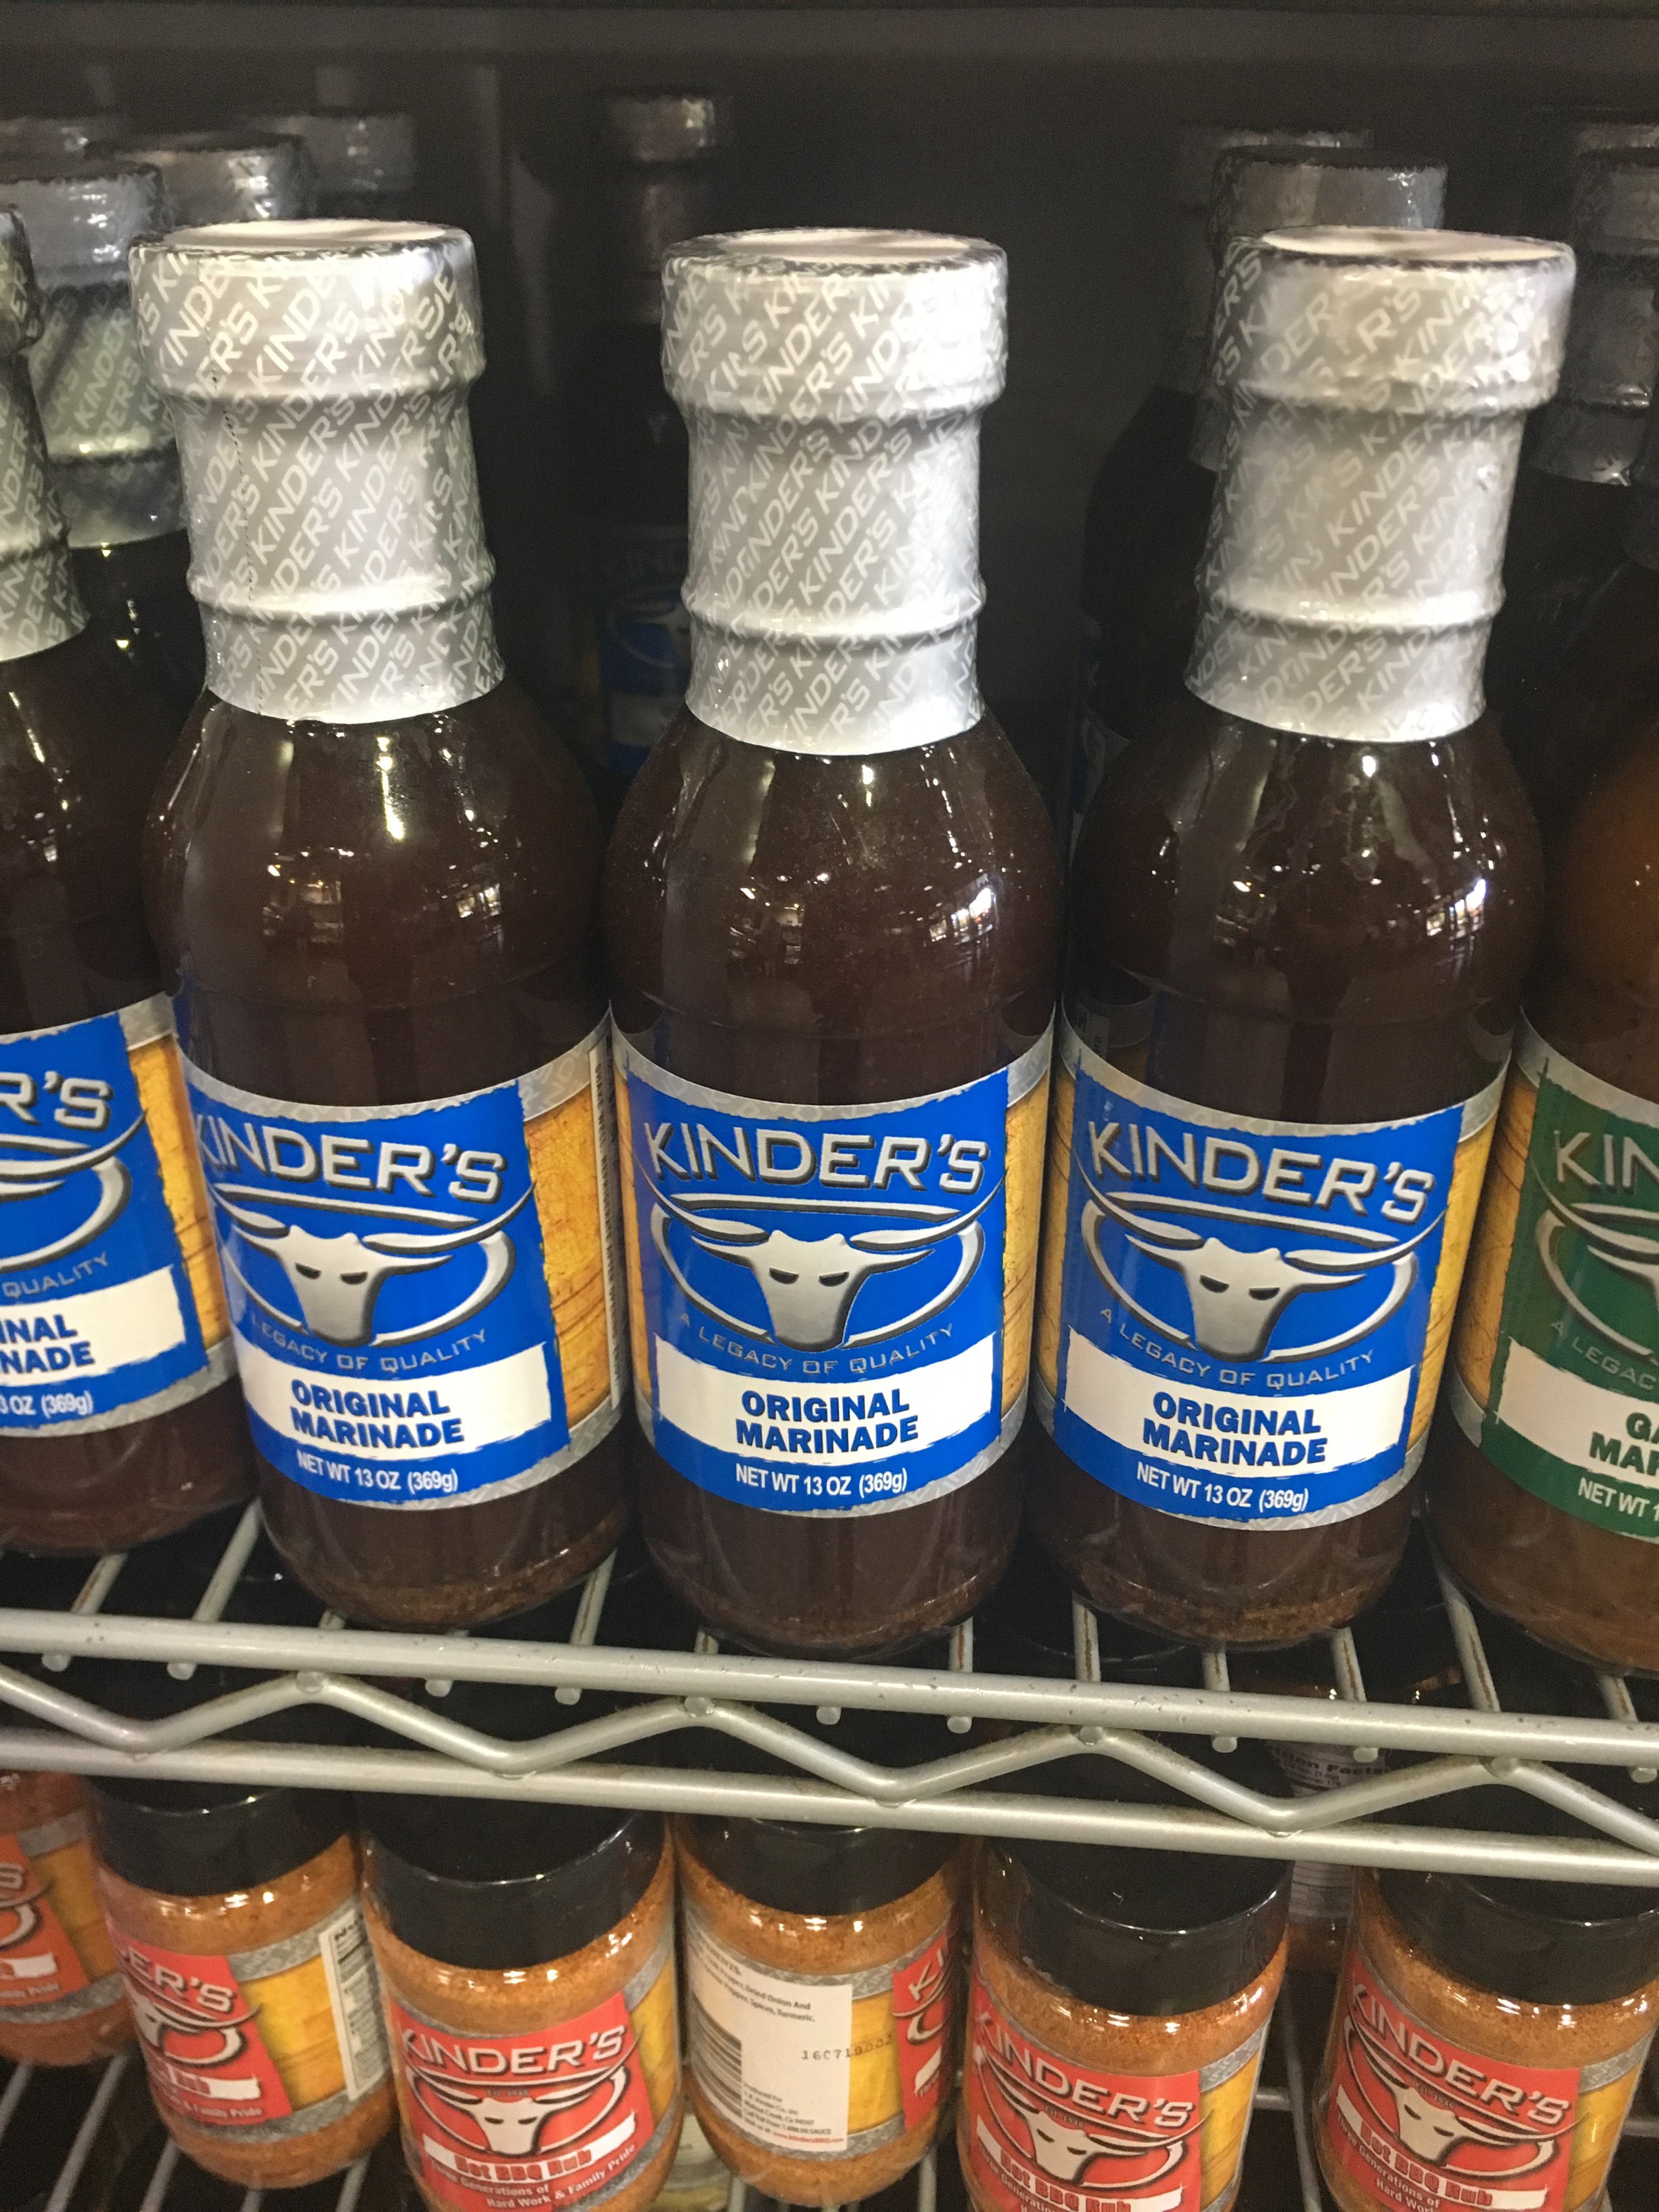
  • 8 oz. Bacon chopped (or more) – I love to go to Kinder’s or Diablo Foods for this!
  • 1 cup white onion, diced
  • 2 tsp. Garlic, minced
  • 4 c. Chicken broth
  • 1 – 2 Bay leaves
  • 1/4 tsp. Red pepper flakes
  • Smoked salt – I use Cherrywood Smoked Salt from Oaktown Spice Shop – best ever!
  • Pepper
New Year’s Black-Eyed Peas

1) If using dry peas, soak 6 hours or overnight. For camping, I brought a Tupperware and soaked them in that overnight.

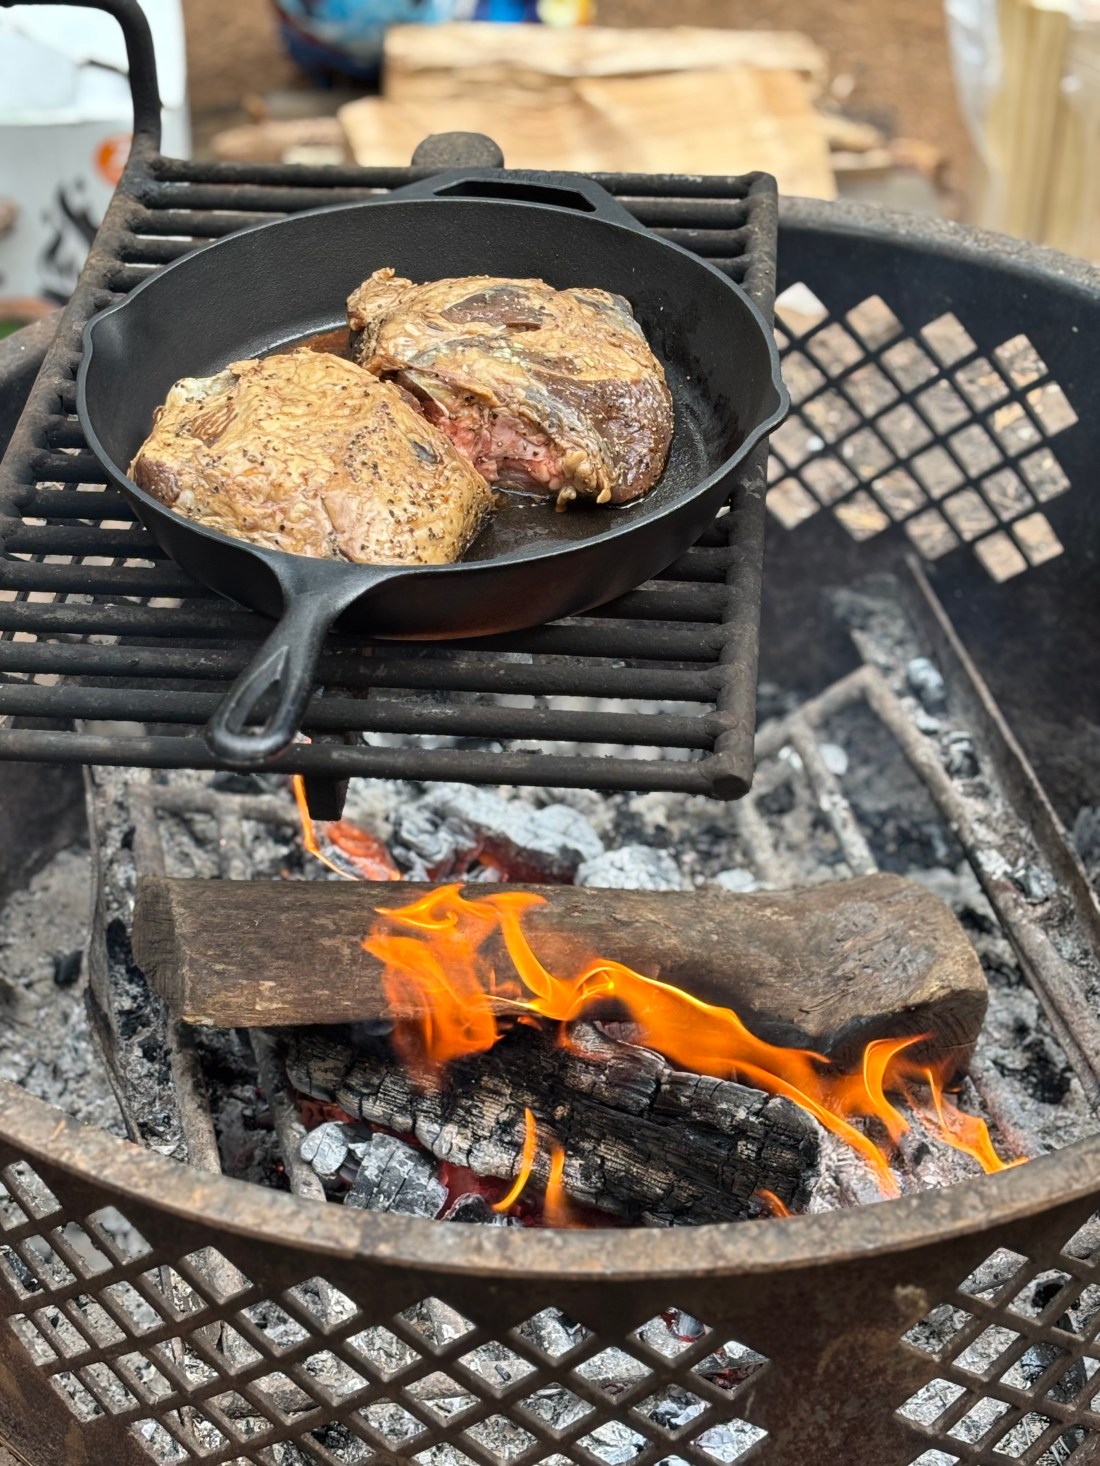
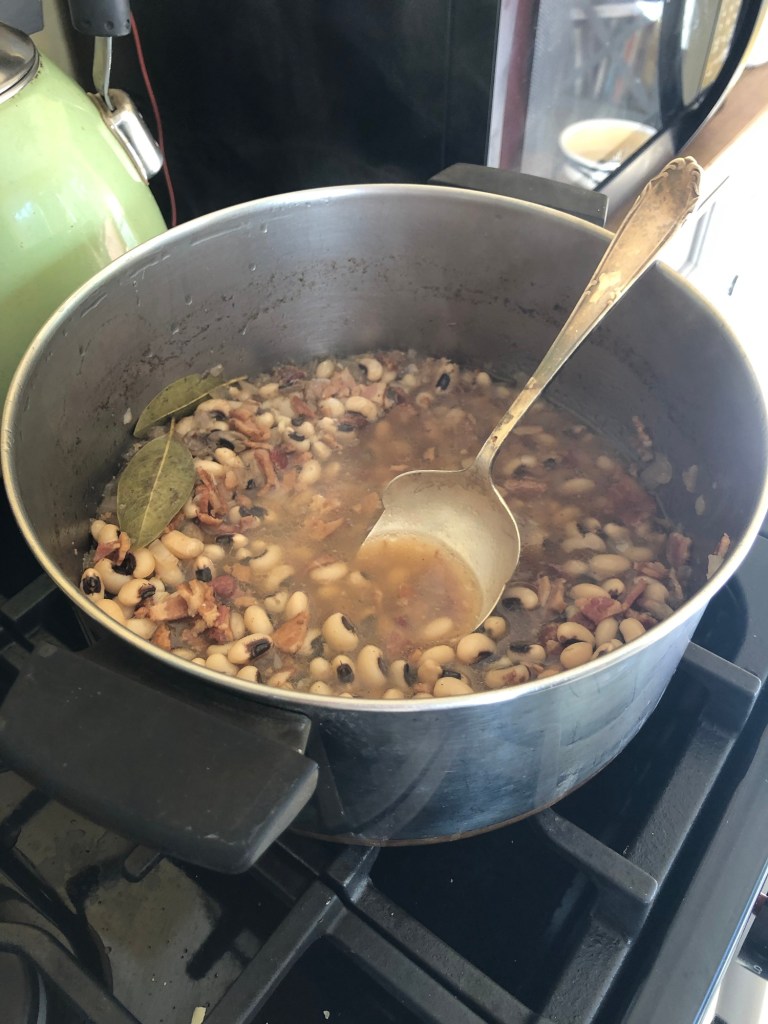
2) In cast iron skillet, cook bacon until crispy. Drain on paper towels and chop. Set aside

3) Add onions to cast iron with bacon and cook until translucent

4) Add garlic with onions, cook until fragrant

5) In a large pot, add peas, onions, garlic and chicken broth, bay leaf, red pepper, and smoked salt and pepper to taste

6) Bring to a boil

7) Move to indirect heat if camping over fire, or low heat if at home, and simmer 20-30 minutes

8) Garnish with bacon, more salt (if desired), and a few dashes of Tabasco (if desired)

9) Enjoy and cheers to the new year!

The Goose Hangs High!

I would love feedback! If you have tried this recipe, please rate below and/or comment!

A Camping Staple – Tri-tip!

Tri-tip over campfire
Finished Tri-tip cooked on campfire
Finished Tri-tip cooked over a campfire

I spent last week in Austin. I love Austin. Great food, delicious cocktails and don’t even get me started on Torchy’s breakfast tacos!! In any case it made me start thinking about the bbq season. It’s finally warm and the rain has stopped here so time to clean that grill!

One of my first night staples when camping is tri-tip. Why is it a staple? Always a hit, I can cook different levels for different people’s preferences, and it makes for great leftovers in breakfast burritos!

So living in California where I do, we have an local bbq place that has amazing tri-tip so I won’t lie, I cheat on this recipe. However, I thought I would do the post for anyone who wants a sure proof tri-tip!

If you live in the Bay Area, you can just cheat and go get an already marinated bag of Kinders tri-tip and throw it on the grill once you are set up at campsite. However if you don’t have a local one or need it to be cheaper given a larger group my suggestion is this –

  • Go to Costco and buy their large tri-tip – rule of thumb is 1/4 – 1/3 per person but I like leftovers for other meals so go 1/3 – 1/2 per person
  • Find at least 2-3 Kinders bottles of original marinade

  • Add meat to a large ziplock bag and add Kinders marinade
  • Seal bag and shake around to fully coat the meat
  • Marinate for at LEAST 24 hours

So for camping, I always marinate the night before the trip so it is ready to go when I get to the campsite the next day

For Grilling Over Campfire

  • Start campfire and work the fire until you have a good amount of hot coals in the pit
  • Put cast iron over heat until hot to touch
  • Add meat fat side down in the cast iron and place directly over heat – if you aren’t getting a sizzling sound right away, putting a foil down on the grill and searing off of that before adding to the cast iron works
  • Sear fat side down for 5 min and then flip for 5 more minutes
  • If you are using foil to get a sear, add tri-tip to cast iron pan after this step
  • Cover cast iron pan with foil
  • Continue to cook for 10-12 more minutes for medium rare, 20-25 for medium, 30-35 for medium well
  • If you have a meat thermometer (I personally love my Thermapen), cook until temperature is at the desired doneness
    • Rare: 125-130° F
    • Medium Rare: 130-135° F
    • Medium: 135-145° F
    • Medium Well: 145-155° F
    • Well Done: 155° F
  • Once the temperature is close to your desired doneness (about 5-10 degrees below), remove from the heat and tent with foil for 10-15 minutes before slicing to let the juices sit. The meat temperature will continue to rise during this step
  • Normally most my friends like medium rare so I cook to that, remove, cut the ends and add those back into the cast iron and cook to medium well for the friends who want that

For Grilling On a Grill

  • Preheat grill until about 350 degrees or until sizzles with a drop of water
  • Add meat fat side down
  • Sear fat side down for 5 min and then flip for 5 more minutes
  • Continue to cook for 10-12 more minutes for medium rare, 20-25 for medium, 30-35 for medium well or desired temperatures (above)
  • Remove from heat slightly before reaching desired temperature and place in a tent foil made of aluminum foil for 10-15 minutes before slicing

Serve with garlic bread, corn, salad and/or potatoes!

I would love feedback! If you have tried this recipe, please rate below and/or comment!

Rating: 5 out of 5.

Delicious Camping Chili with Leftover Ingredients

Usually by the last night of camping, I try to either make a meal out of everything we have leftover or a meal mostly from cans. My last camping trip I decided to try making a chili based off of both because it’s usually what we have at the end – even some beer!

Ingredients

  • 1 medium onion, chopped
  • 5 cloves minced garlic
  • 1 green bell pepper chopped
  • 2 jalapeño peppers chopped
  • 1 can of Chipotle chili’s in adobo sauce
  • 2 tablespoons tomato paste
  • 1 28 oz can crushed tomatoes
  • 1 16 oz can chicken broth
  • 1 12 oz beer
  • 1 can kidney beans, drained and rinsed
  • 1 can black beans, drained and rinse
  • 1 can pinto beans, drained and rinsed
  • 2 tsp cumin
  • 1 tsp Italian seasoning
  • 1 tablespoon sugar
  • 2 tsp Tabasco
  • Any leftover items you might have – cheddar cheese, sour cream, green onions…

Directions

  1. In a Dutch oven or cast iron pan, add a couple teaspoons of oil and create a thin layer on the bottom. Last summer I bought this pan from Macy’s and it worked great for this meal and fed four people easily!
  1. Move pan closer to the flames and heat
  2. Add the chopped onion and minced garlic until onion is soft
  3. Add a bit of the adobo sauce from the chili can, tomato paste, peppers, cumin and Italian seasoning.
  4. Stir and cook for about 3-5 minutes until peppers have softened
  5. Add tomatoes, broth, and beer with the sugar and mix to combine
  6. Move the pot away from the heat towards the edge of the campfire grill
  7. Cover and let simmer for 20 minutes
  8. Add beans and re-cover and cook for another 10-15 minutes
  9. Remove from heat and serve into bowls
  10. Add the toppings you have (sour cream, cheese) and serve with campfire cornbread – recipe to come!

I would love feedback! If you have tried this recipe, please rate below and/or comment!

Rating: 5 out of 5.

How to Make Addictive Garlic Bread for Camping Trips

I love to make at least one pasta dish on a camping trip (see previous lasagna recipe) and what goes best with pasta? Garlic bread! It also just make a great snack or side dish for many meals. Warning – this garlic bread is highly addicting and I usually triple the portion you think normal people would eat when planning for the meal.

I think the first time I did this recipe while camping was at Mary Smith campground up near the town of Shasta. It’s a bit of a drive from the Bay Area but a pretty drive and the campground has nice hiking. Sadly when we went it was too cold to get into the water. Maybe next time!

Ingredients –

  • Loaf of French bread
  • 2 to 2 1/2 sticks of butter – accept it, love it, trust me!
  • Garlic – I use at least 8-9 cloves
  • Italian seasoning
  • Parmesan cheese – shredded
  • Foil

Directions –

  1. Cut french loaf in half longwise
  2. Mince garlic to fine pieces
  3. Mash room temp butter, minced garlic, a little bit of shredded Parmesan cheese and a couple teaspoons of Italian seasoning in a bowl until well combined
  4. Spread garlic, cheese, butter mixture evenly on the two layers of bread
  5. Top with more shredded Parmesan cheese
  6. Put each loaf separately in a piece of foil and fold up so foil creates a boat and top of bread doesn’t touch top of foil
  7. Place on indirect heat on campfire and cook for about 10 min or until bread is warmed and cheese on top is melted
  8. Remove from heat and slice into 2 inch pieces or eat as whole (just kidding but you’ll want to)

I would love feedback! If you have tried this recipe, please rate below and/or comment!

Rating: 5 out of 5.

How to Make Cheesy Enchiladas at the Campsite

enchilada1


This is my very first post!  And because it is my first, I thought I would start with one of the favorites that I get requested for a lot – my enchiladas.  You can make these vegetarian, or add more meat to cater to those in your camp group.  Whatever you do, just make sure you have plenty of cheese!
I usually use chicken for mine but you can use whatever kind of meat you like or are already cooking at your campsite.  For the chicken, I usually cook at home in my rotisserie and then shred and put into a large zip-lock bag before the trip to save time when at the campsite.

What you need –

  • 1 can of corn
  • 1 can of beans
  • 32 oz. can of enchilada sauce – mild to hot depending on the group (I like mine with heat)
  • 2 lbs. cooked and shredded chicken
  • package of corn tortillas
  • 4 cups of cheese – I usually use the Mexican blend
  • Cast Iron or Dutch Oven
  • Foil
  • Bag of tortilla chips

Directions –

  1. Cover the cast iron in a couple layers of foil for an easier cleanup
  2. Layer the bottom foil with corn tortillas overlapping each other
  3. Spread some of the canned corn and beans over the tortillas
  4. Add chicken over the corn and beans
  5. Spread 1/3 – 1/2 of the enchilada sauce over everything.
  6. Cover with cheese
  7. Add another layer of corn tortillas and repeat until you reach the top of the pan
  8. Top with the remaining cheese
  9. Cover the pan with foil and place over campfire but indirectly of the flames
  10. Cook for one hour or until cheese is fully melted and it looks heated through and sauce is bubbling

One thing to note here – this is supposed to be a casserole but I have found people enjoy eating is served in bowls almost like a soup or dip and eat with tortilla chips

I would love feedback! If you have tried this recipe, please rate below and/or comment!

Rating: 5 out of 5.