How to Make Jalapeño Cornbread Over a Campfire

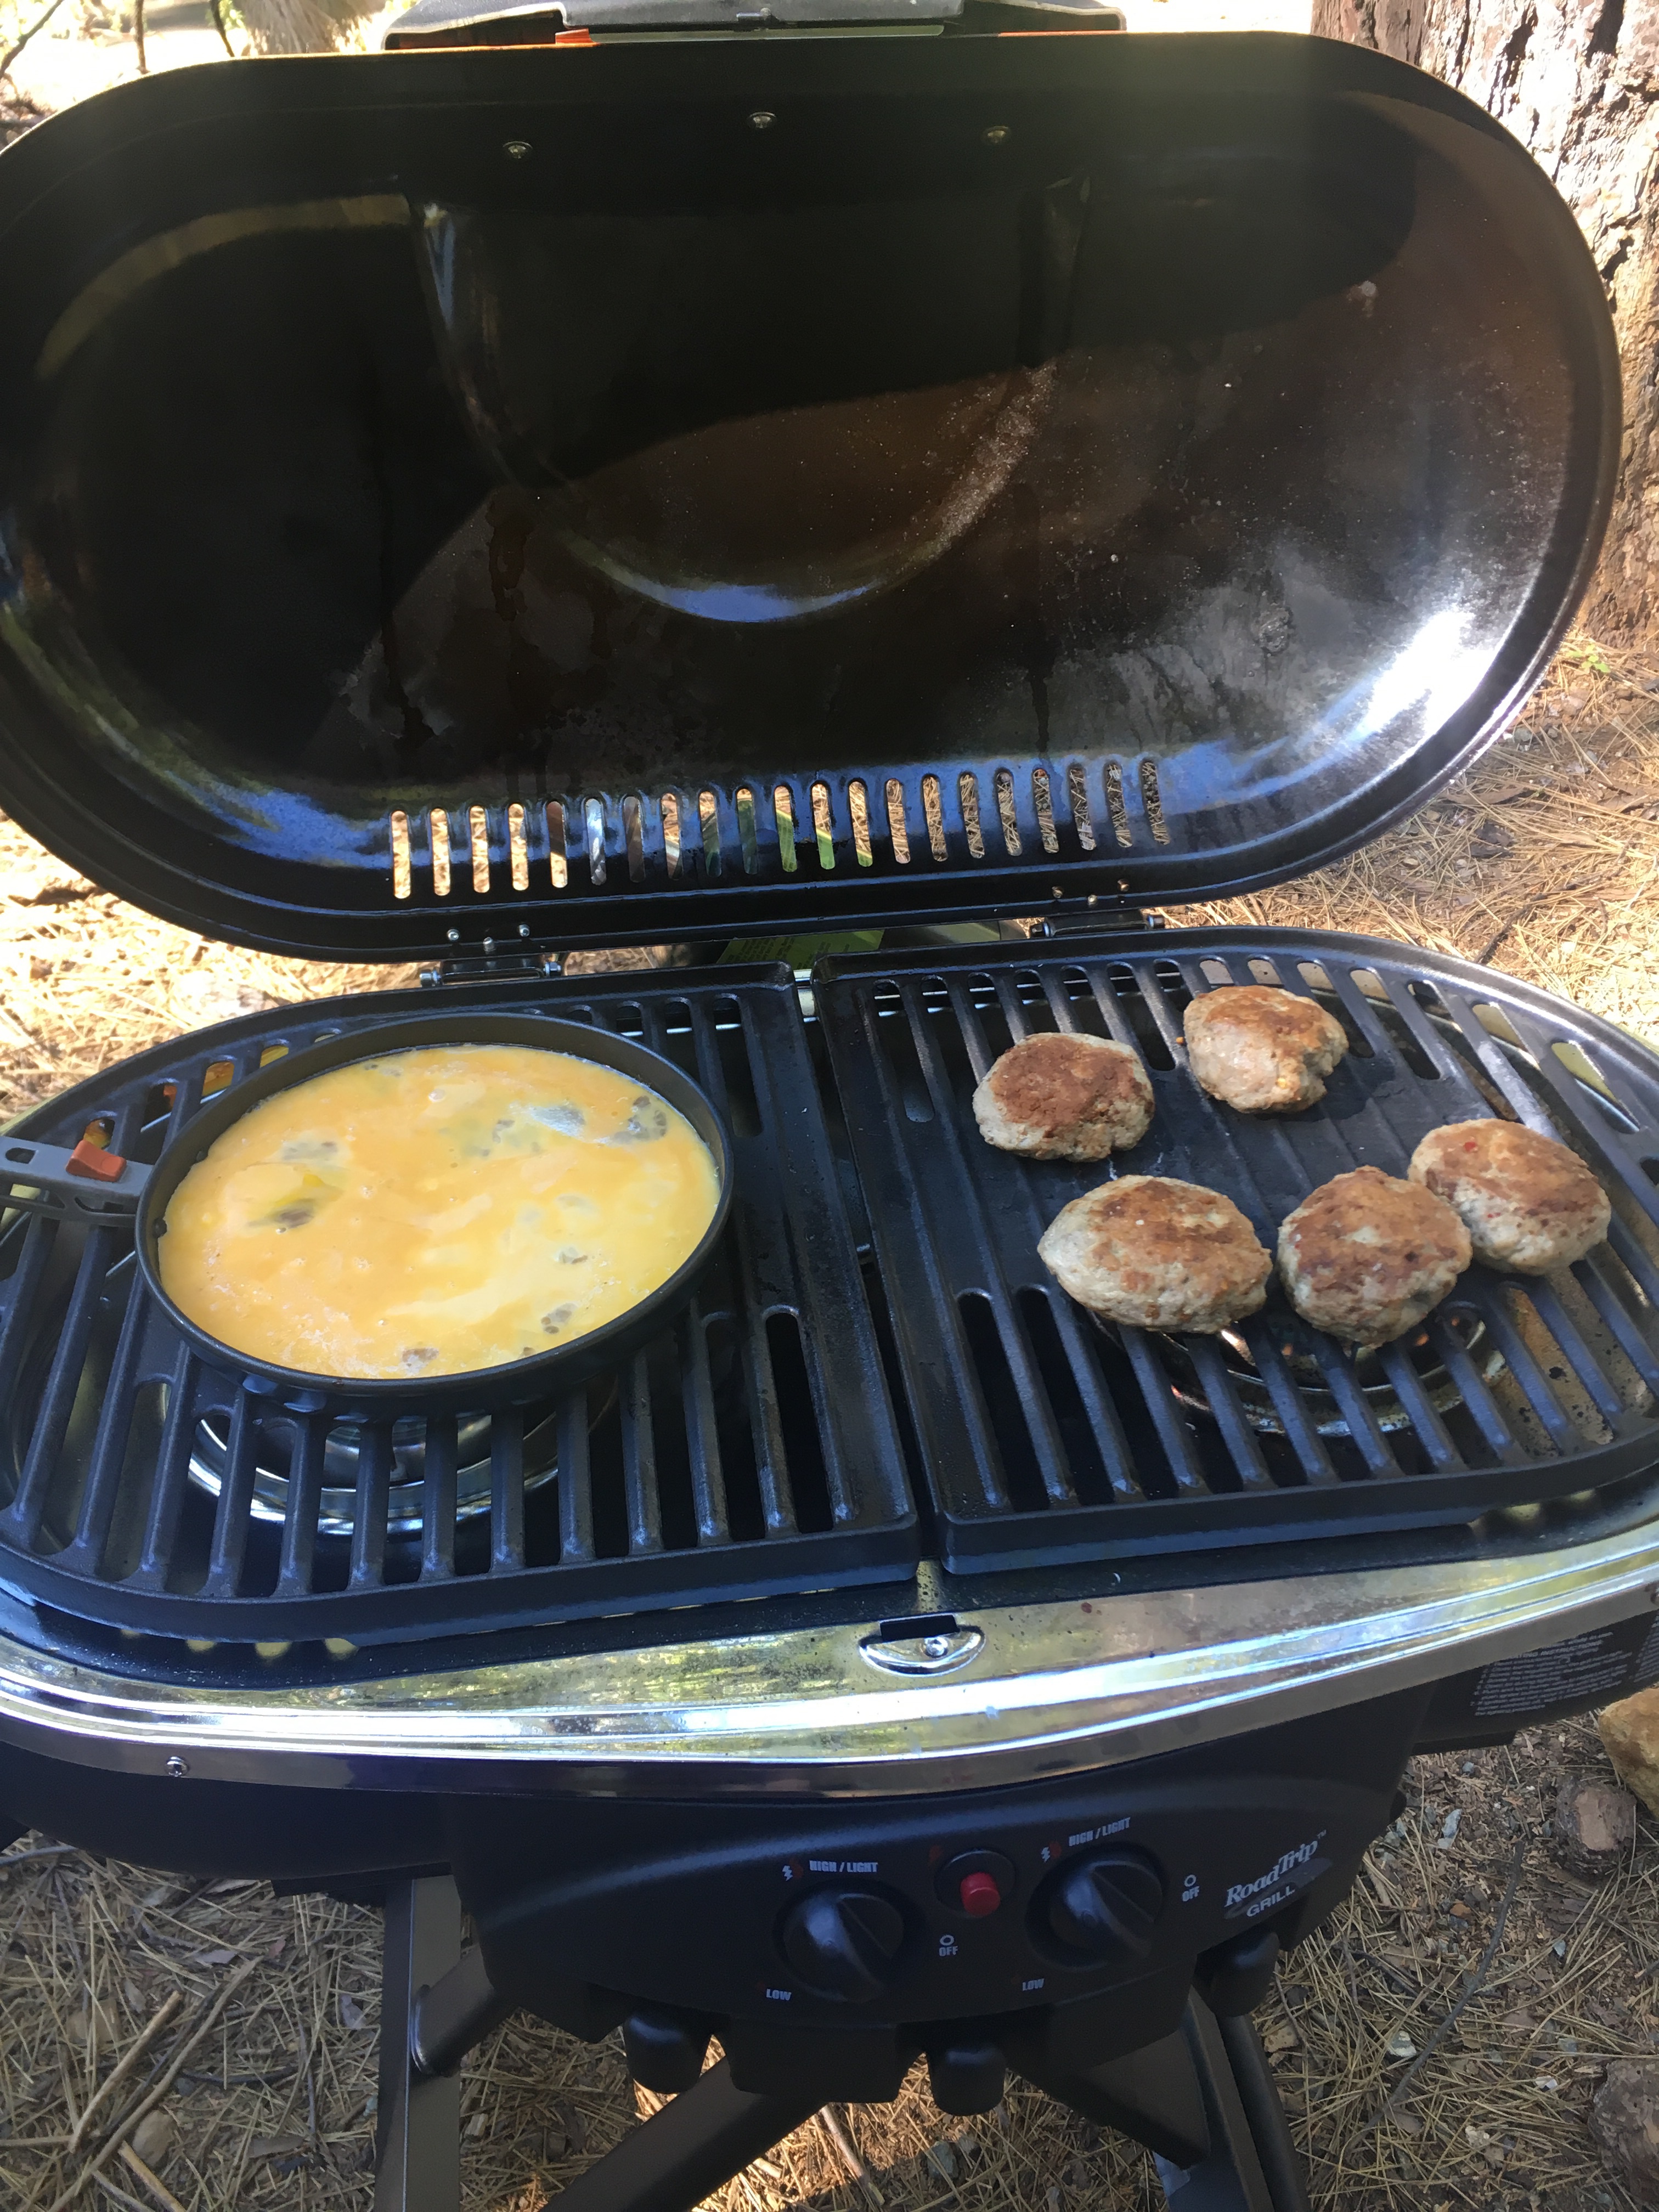
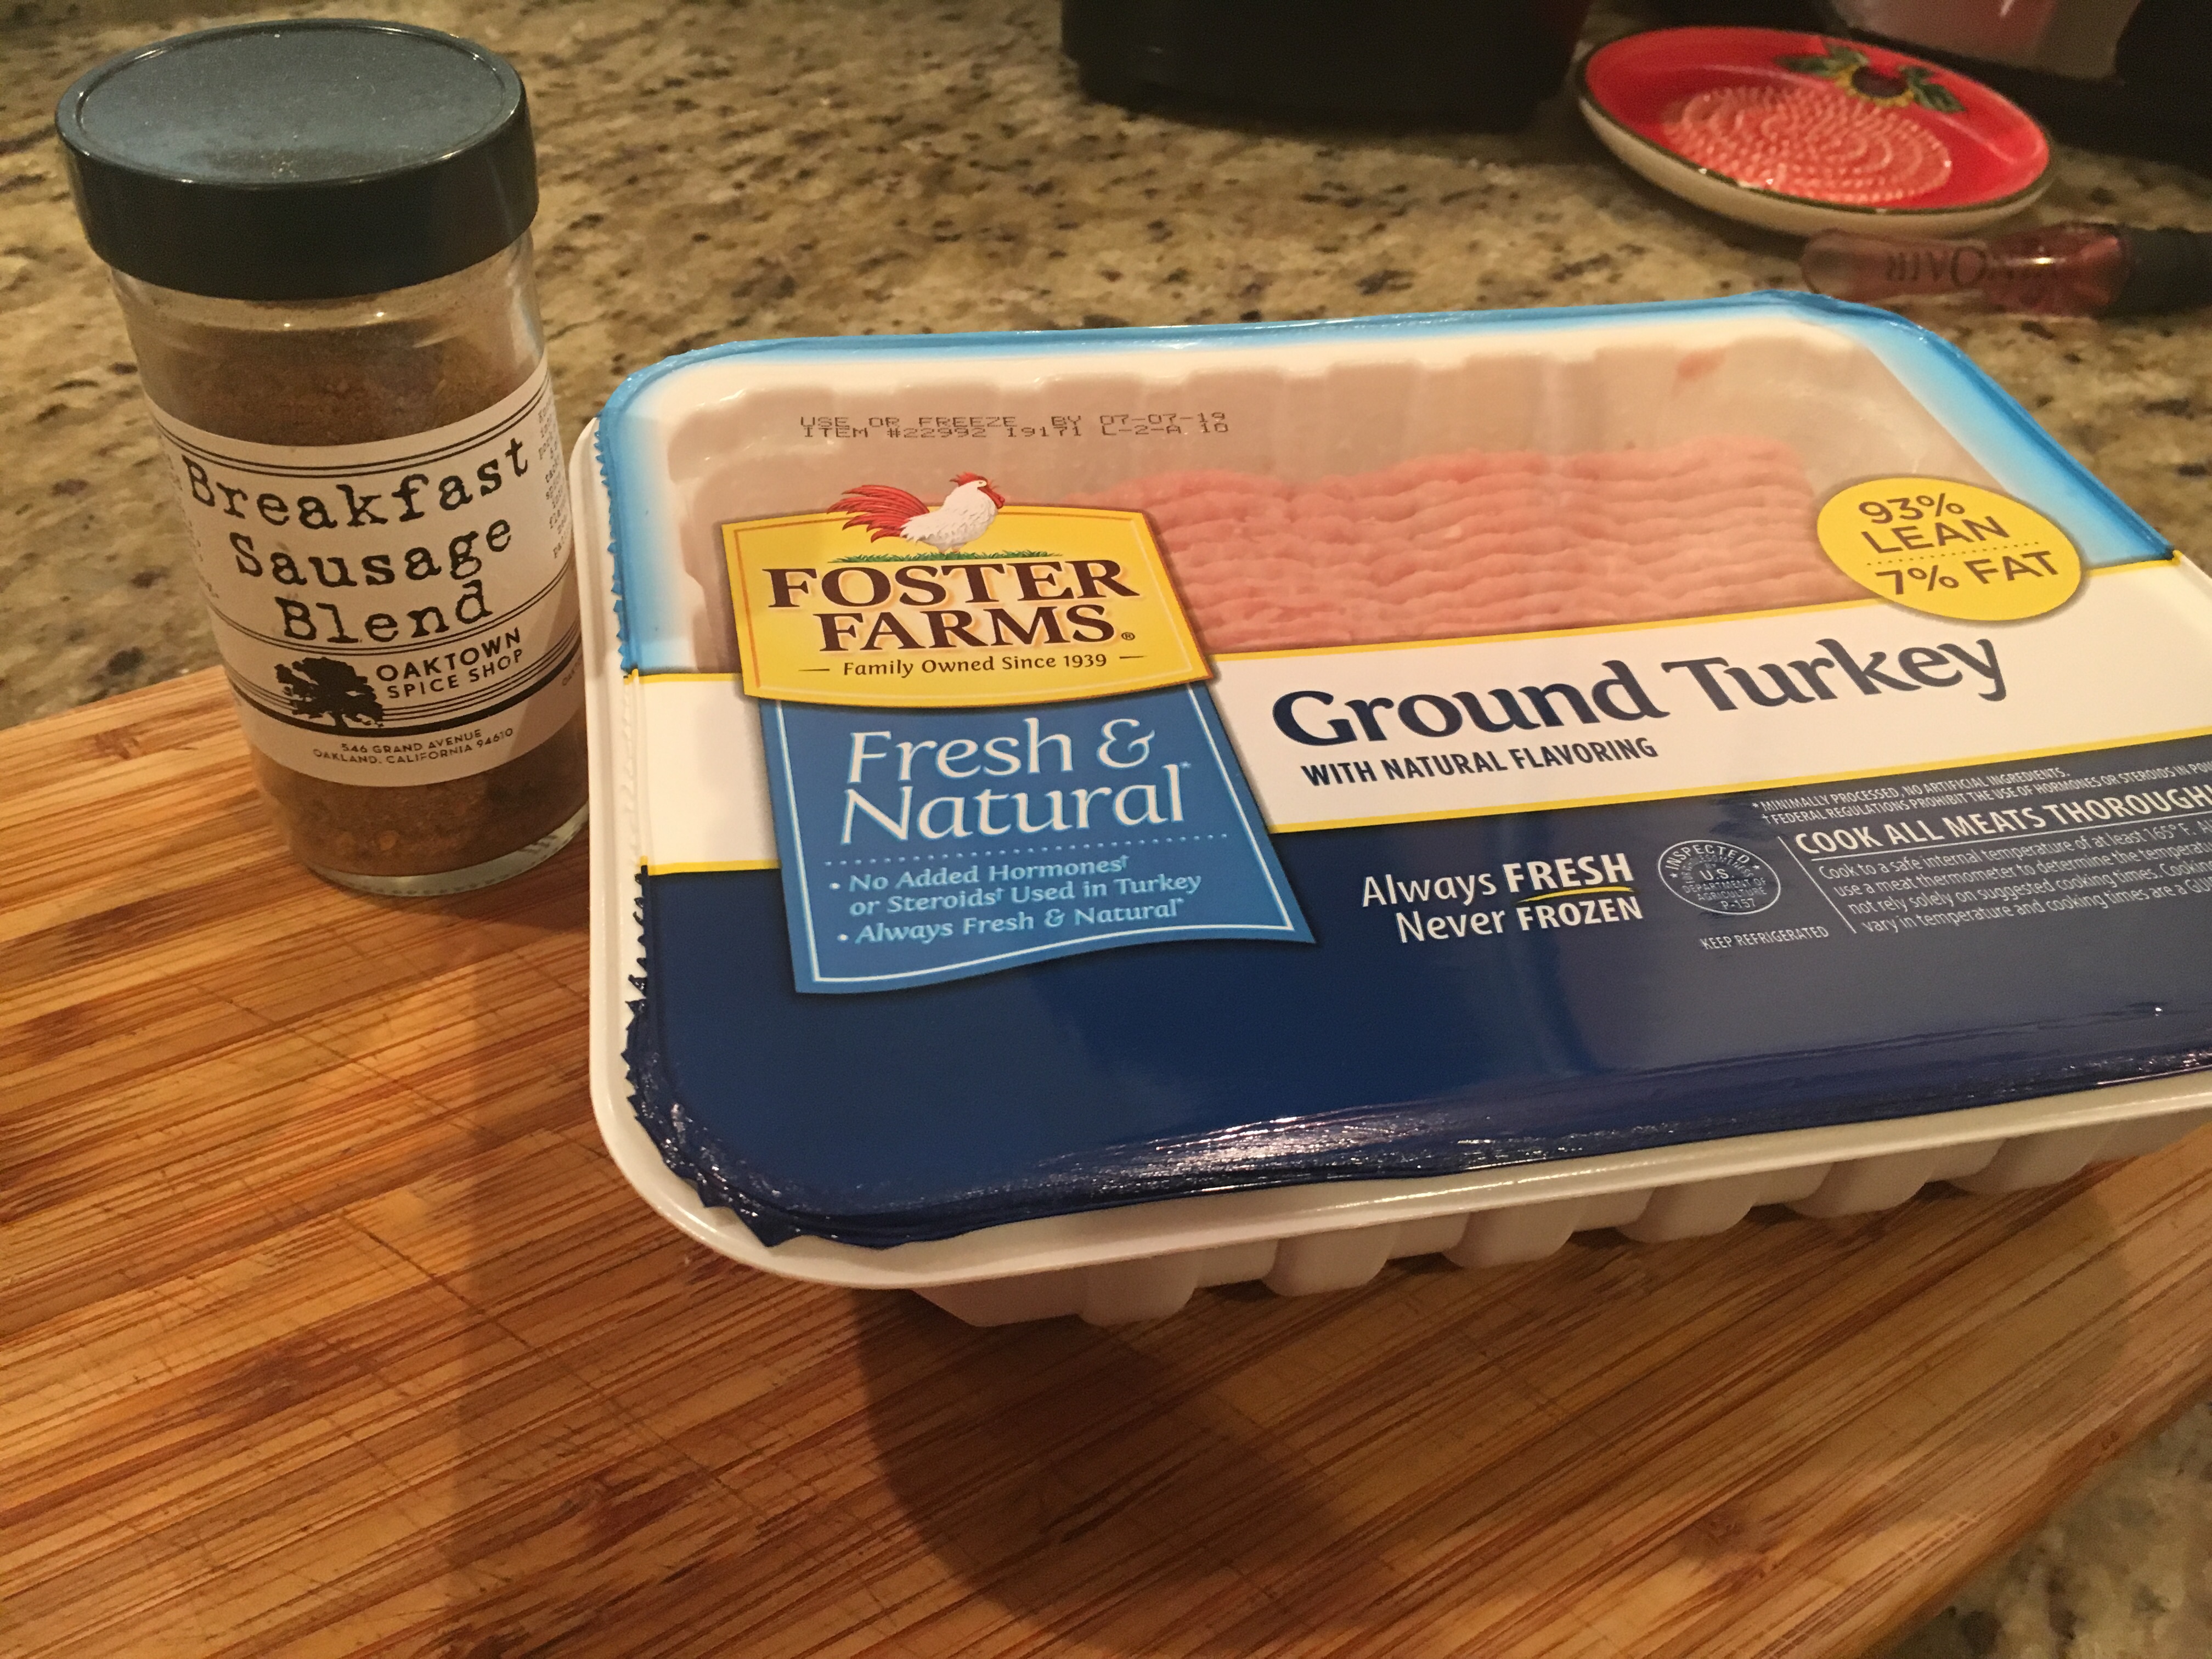
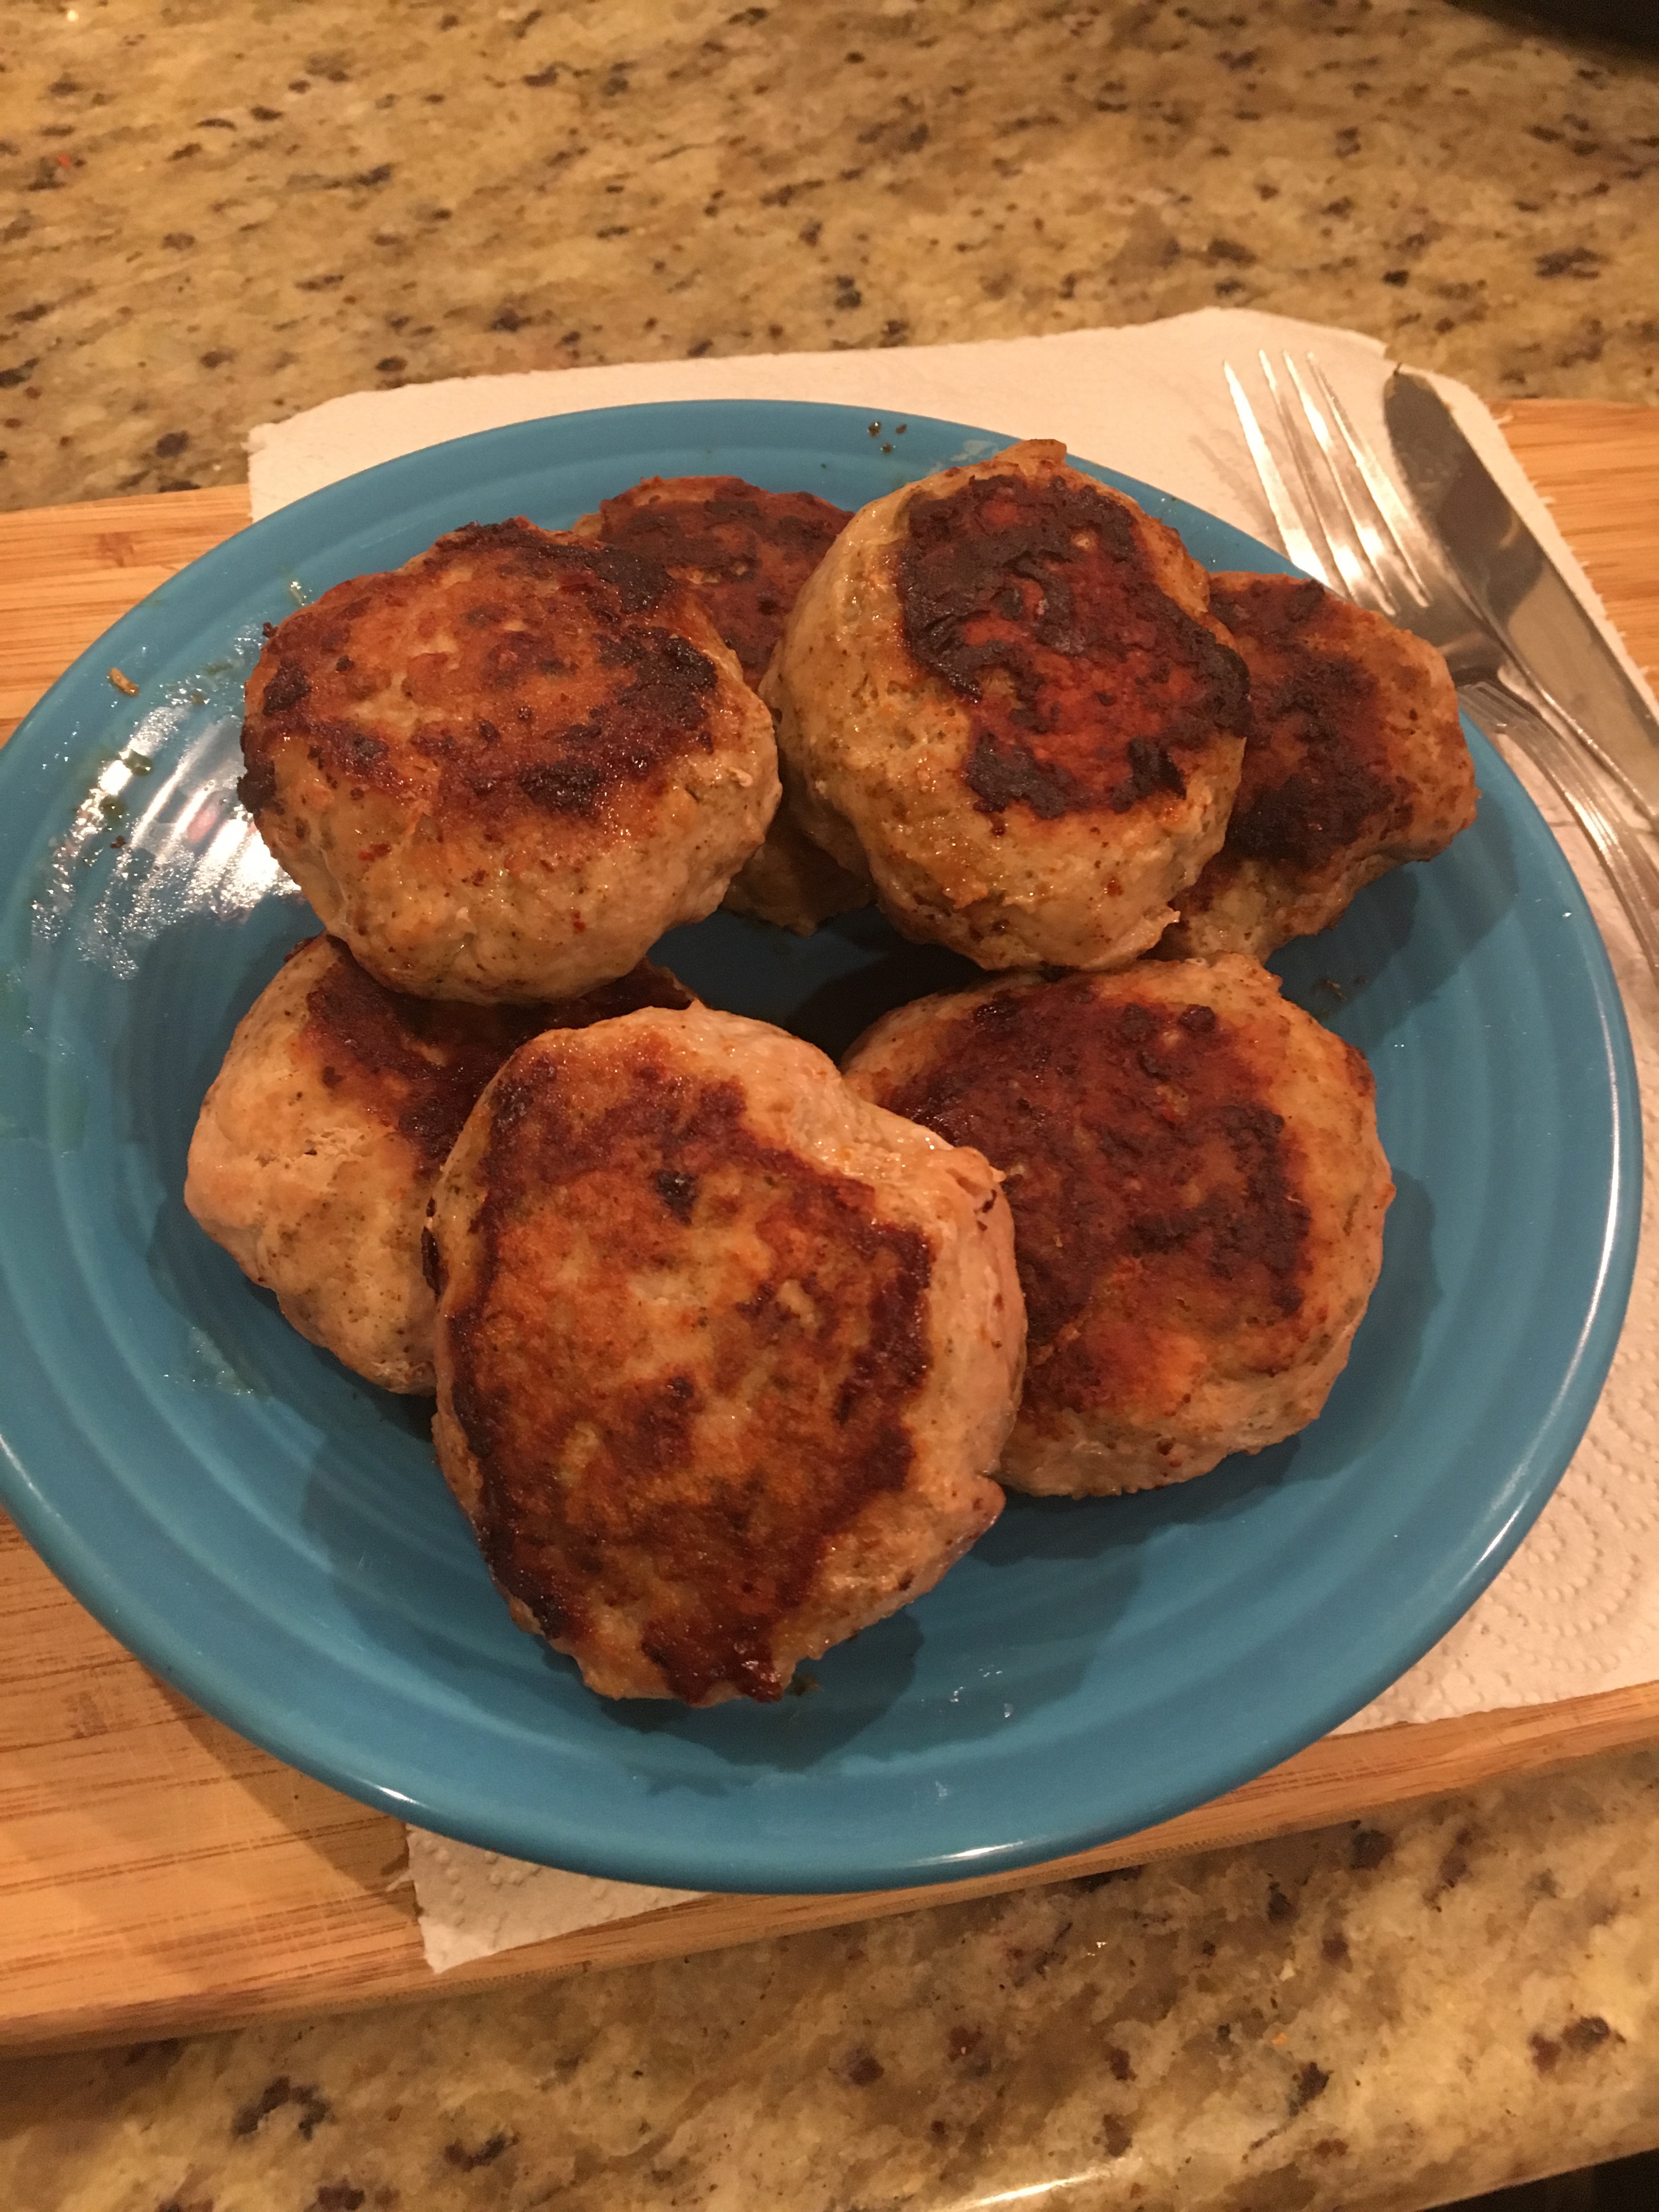
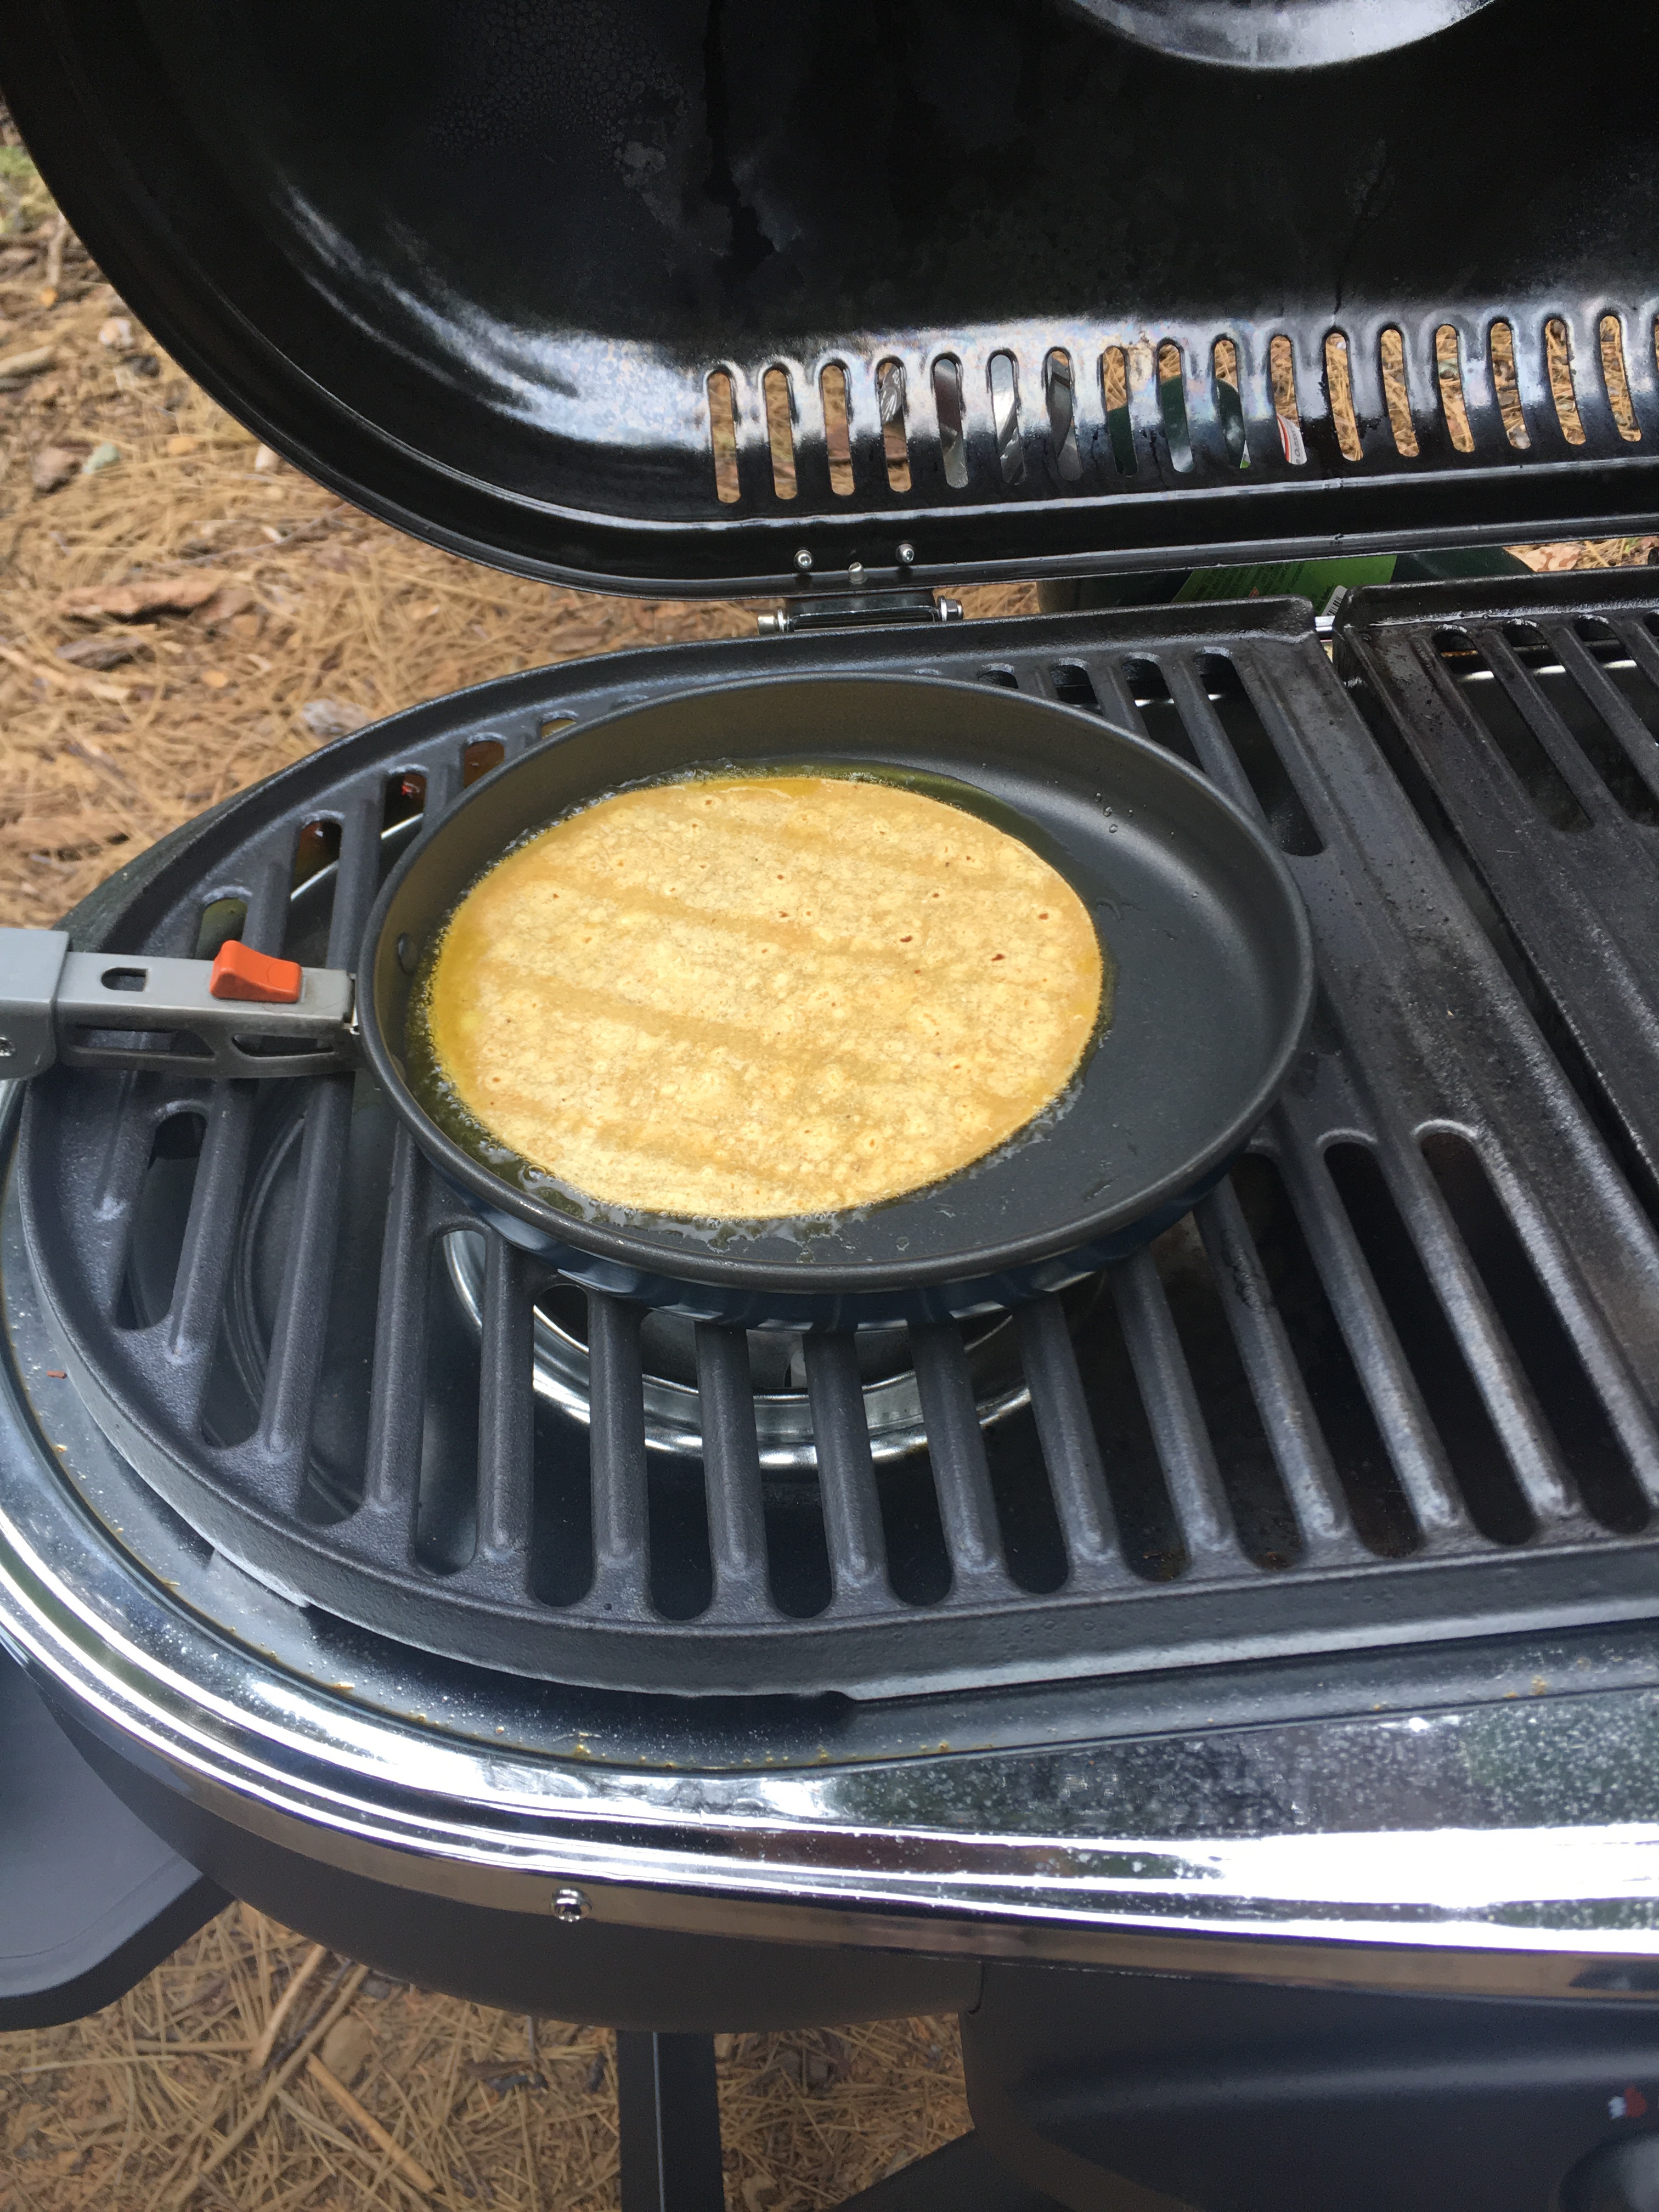
Sorry for the hiatus! The last week of August was spent getting everything together for my largest camping trip to date. I then went traveling for a month! For this last camping trip, I bought extra cast irons for the campfire and definitely had to use my new Coleman grill for additional items for the amount of people we had. Before the trip I really wanted to get this griddle but it was out of stock until yesterday. Thankfully there was a big cash back event yesterday and it is back in stock so I grabbed it for next year shenanigans!

So in the meantime for this past camping trip, I had to rely on my trusty cast irons! If you are in the market, Macy’s has one on Last Act for under $20 so I would grab one now before they are gone (I know I am getting one for backup!)

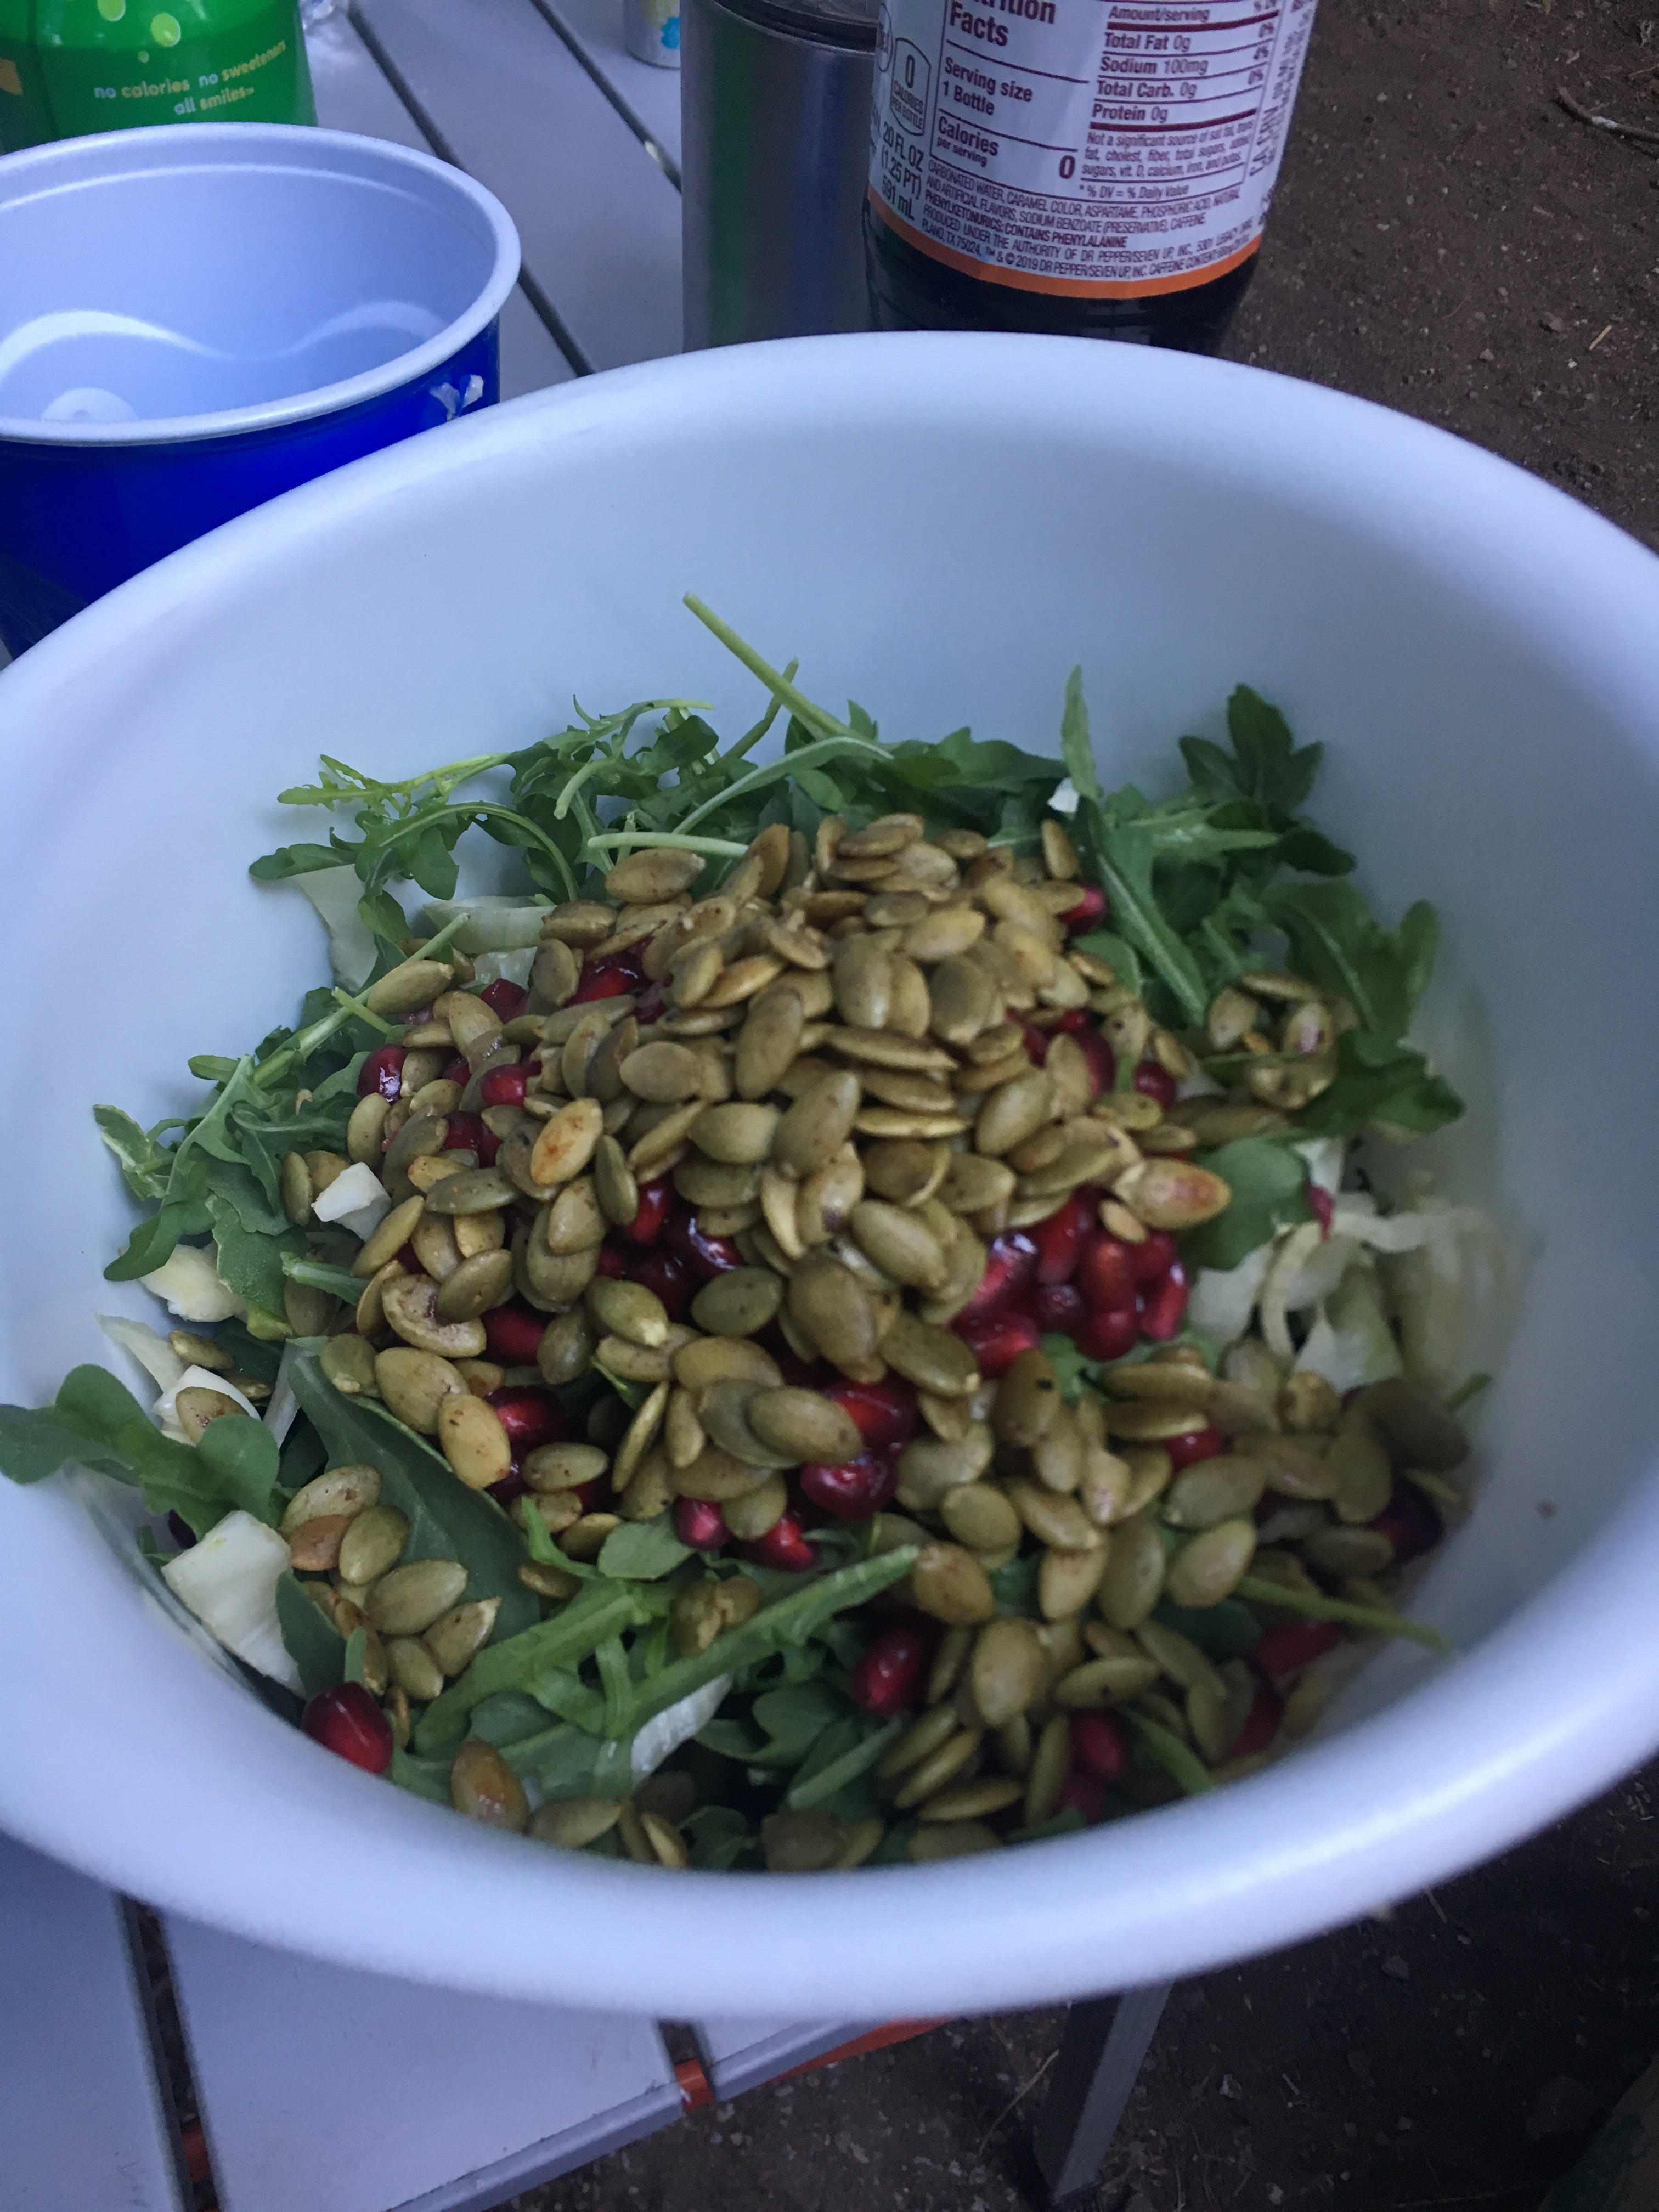
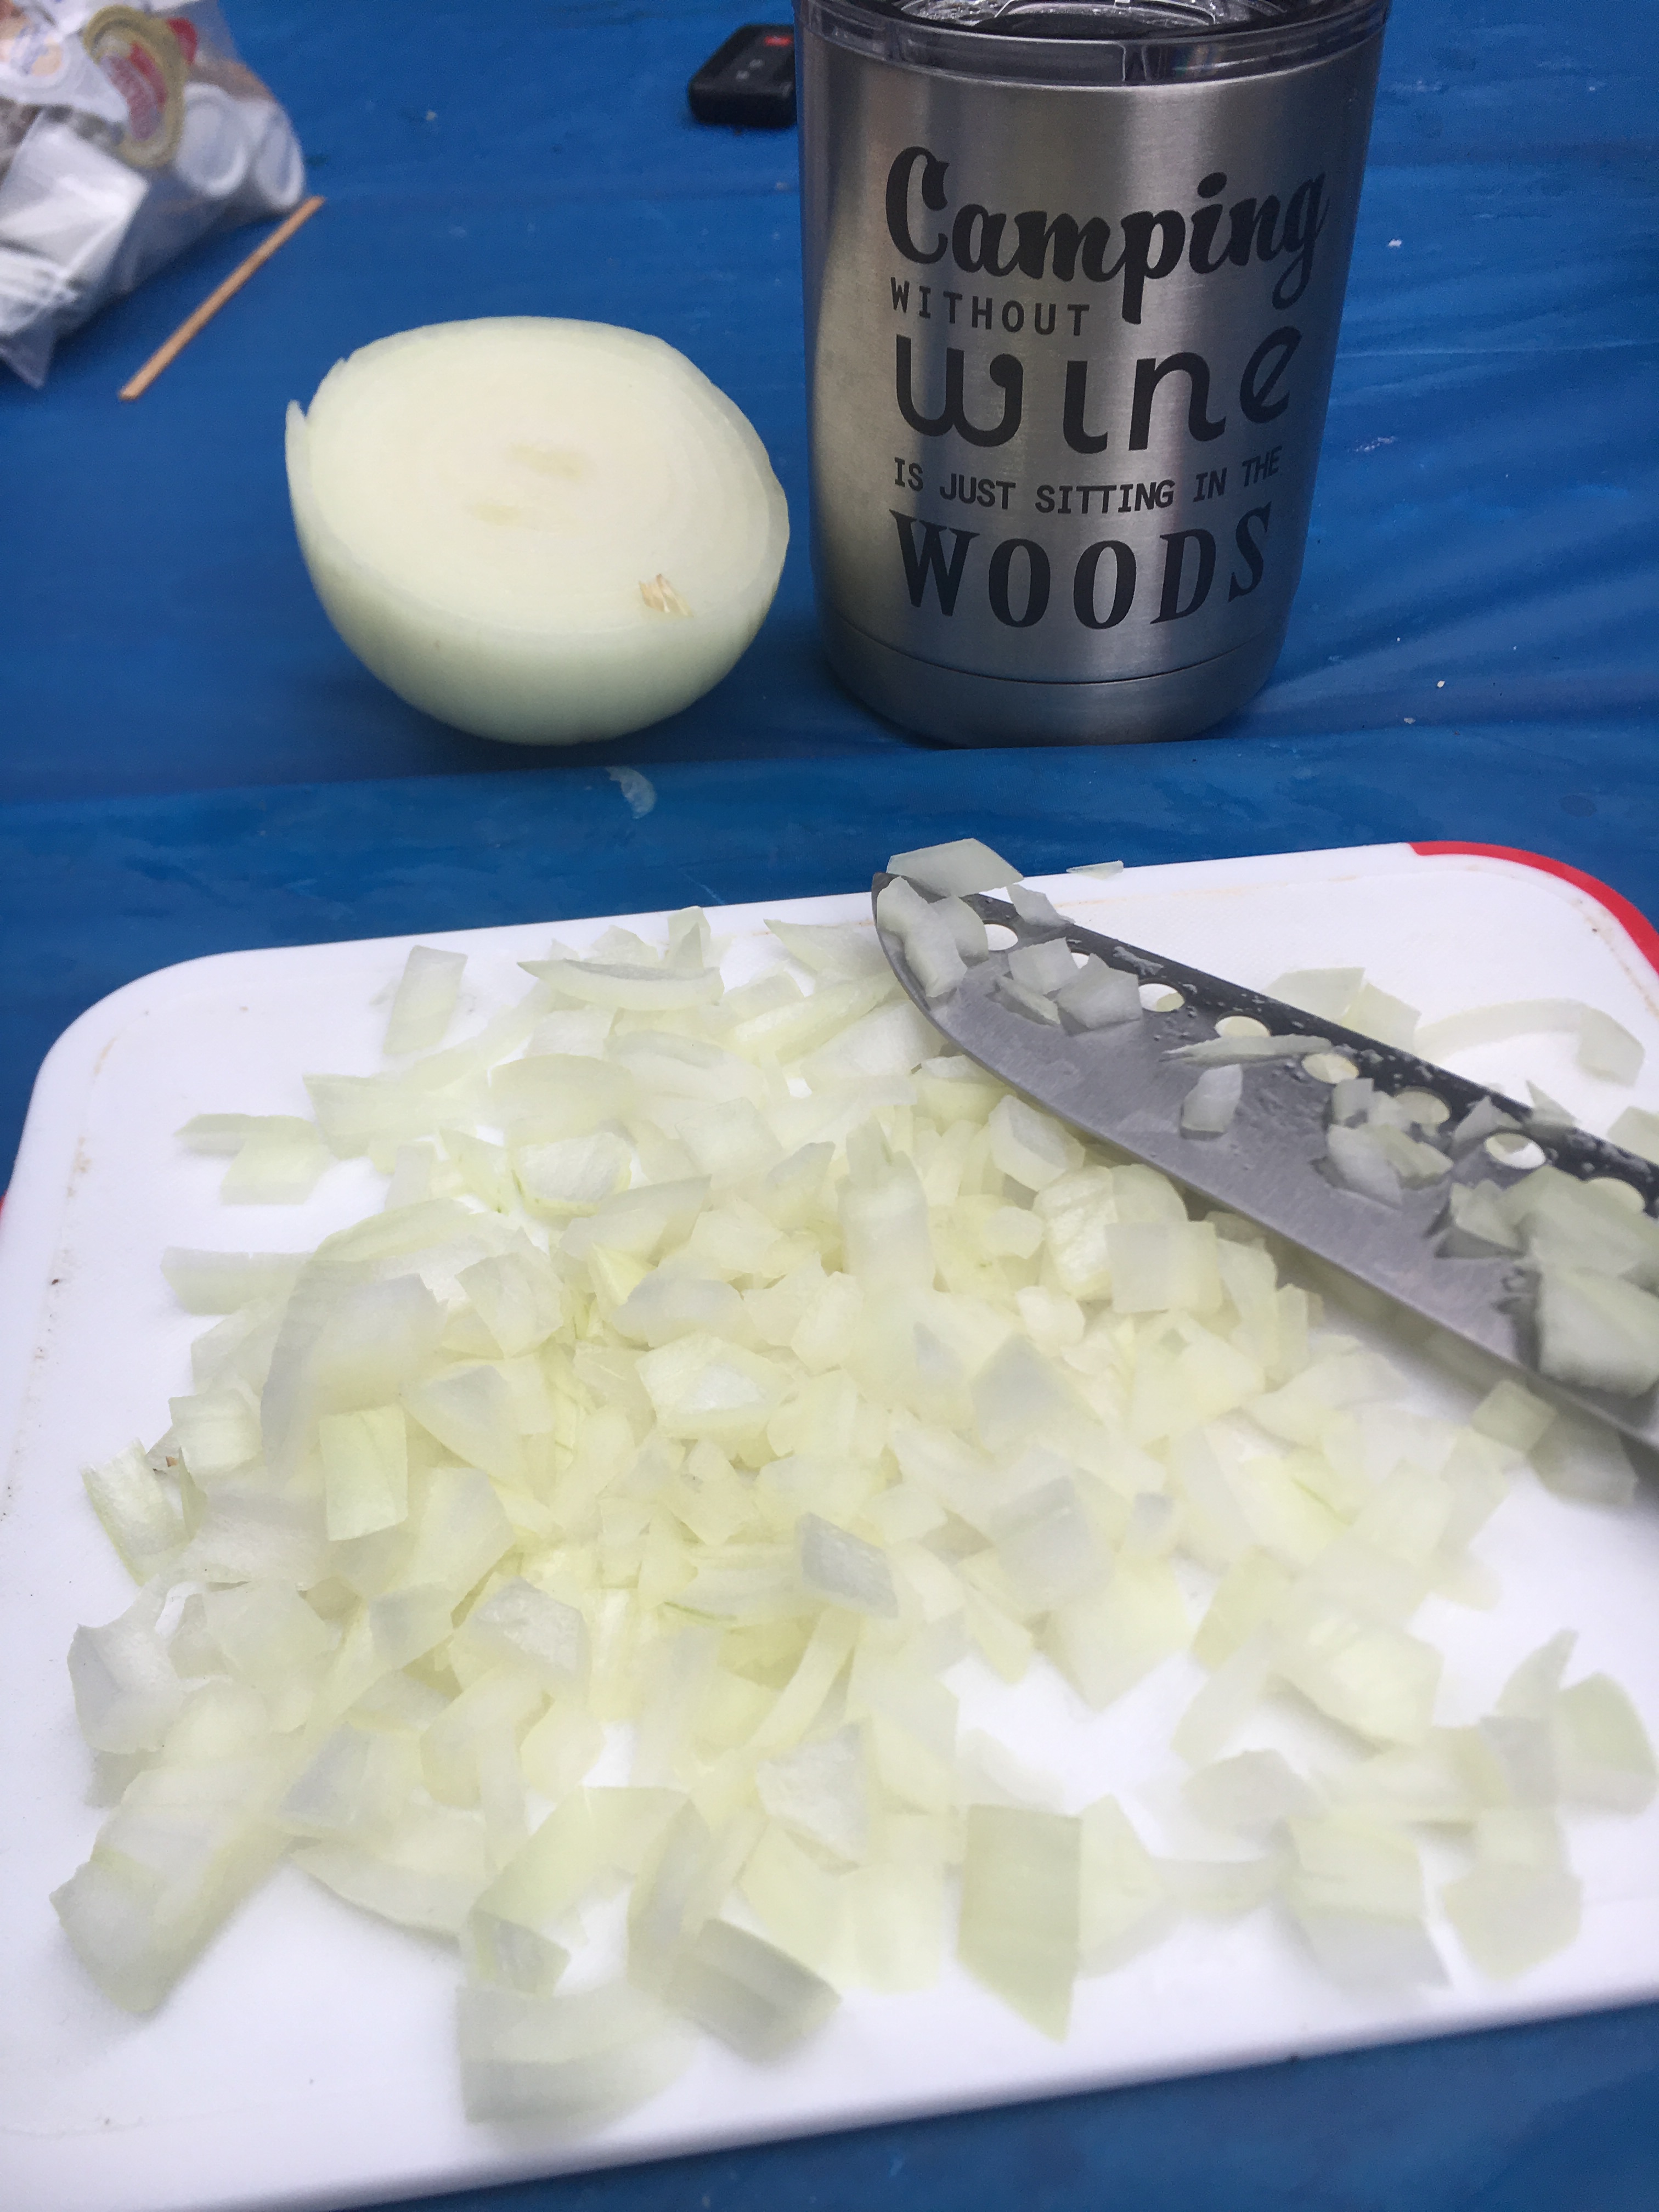
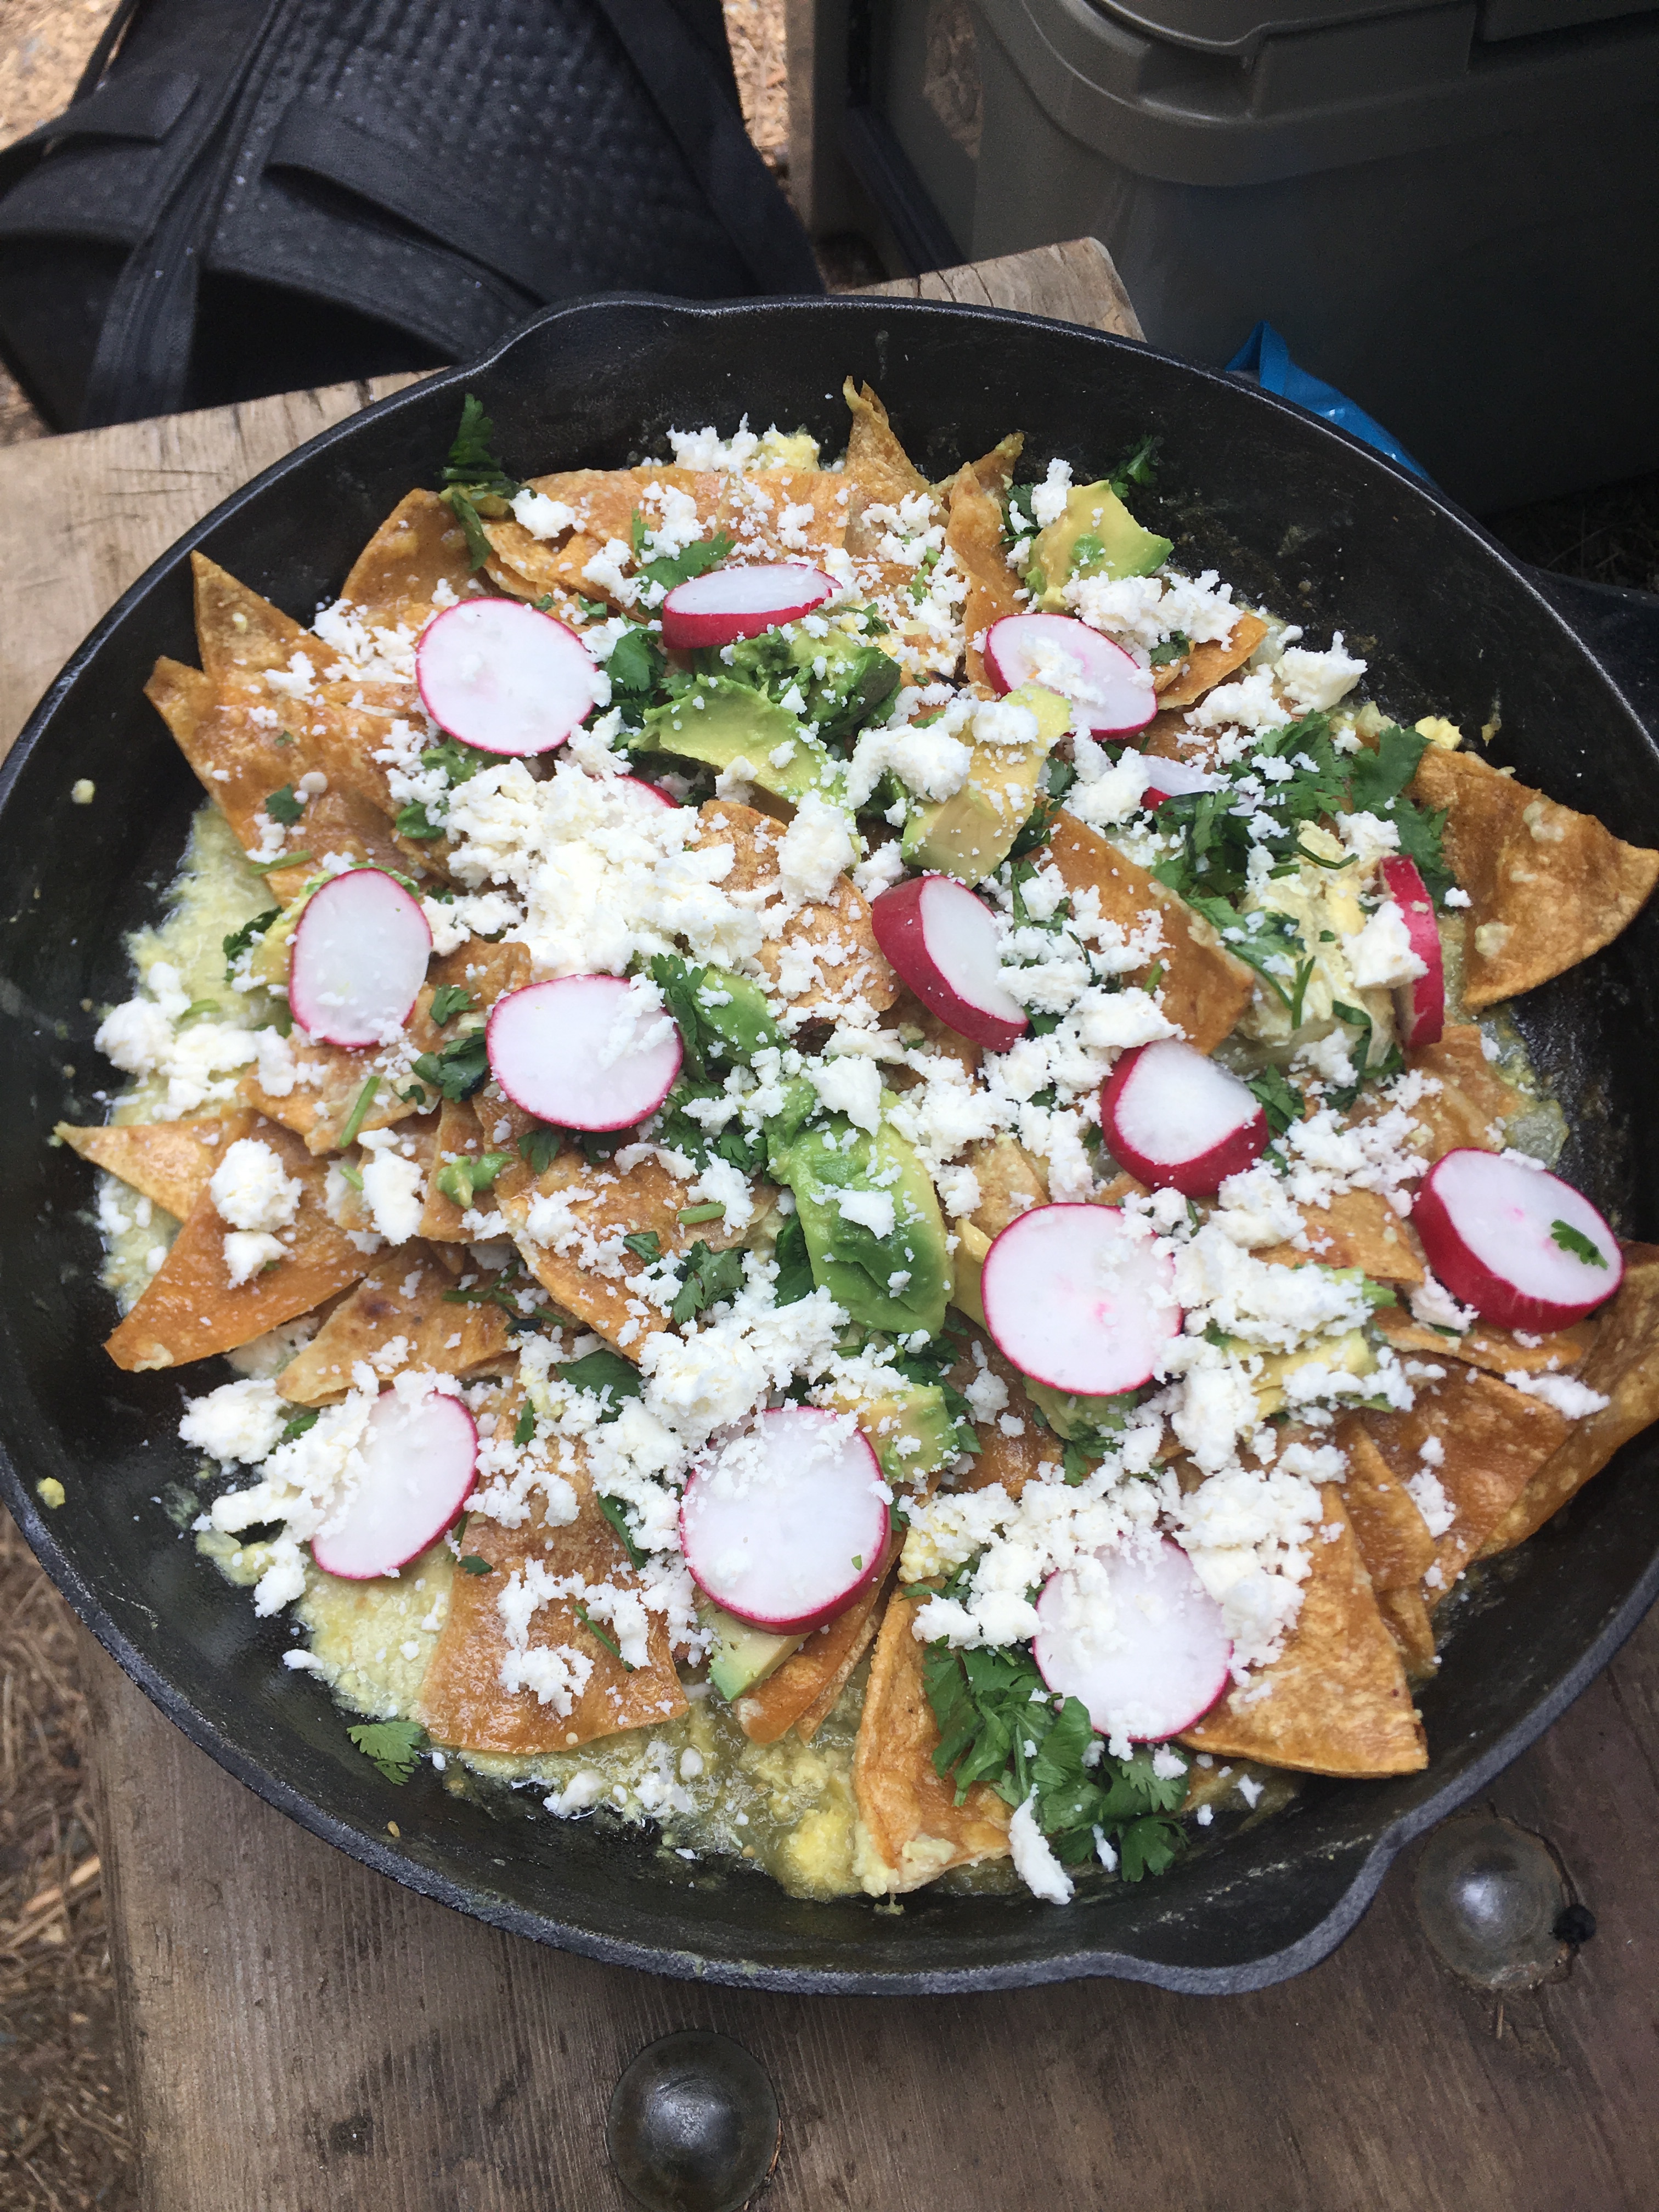
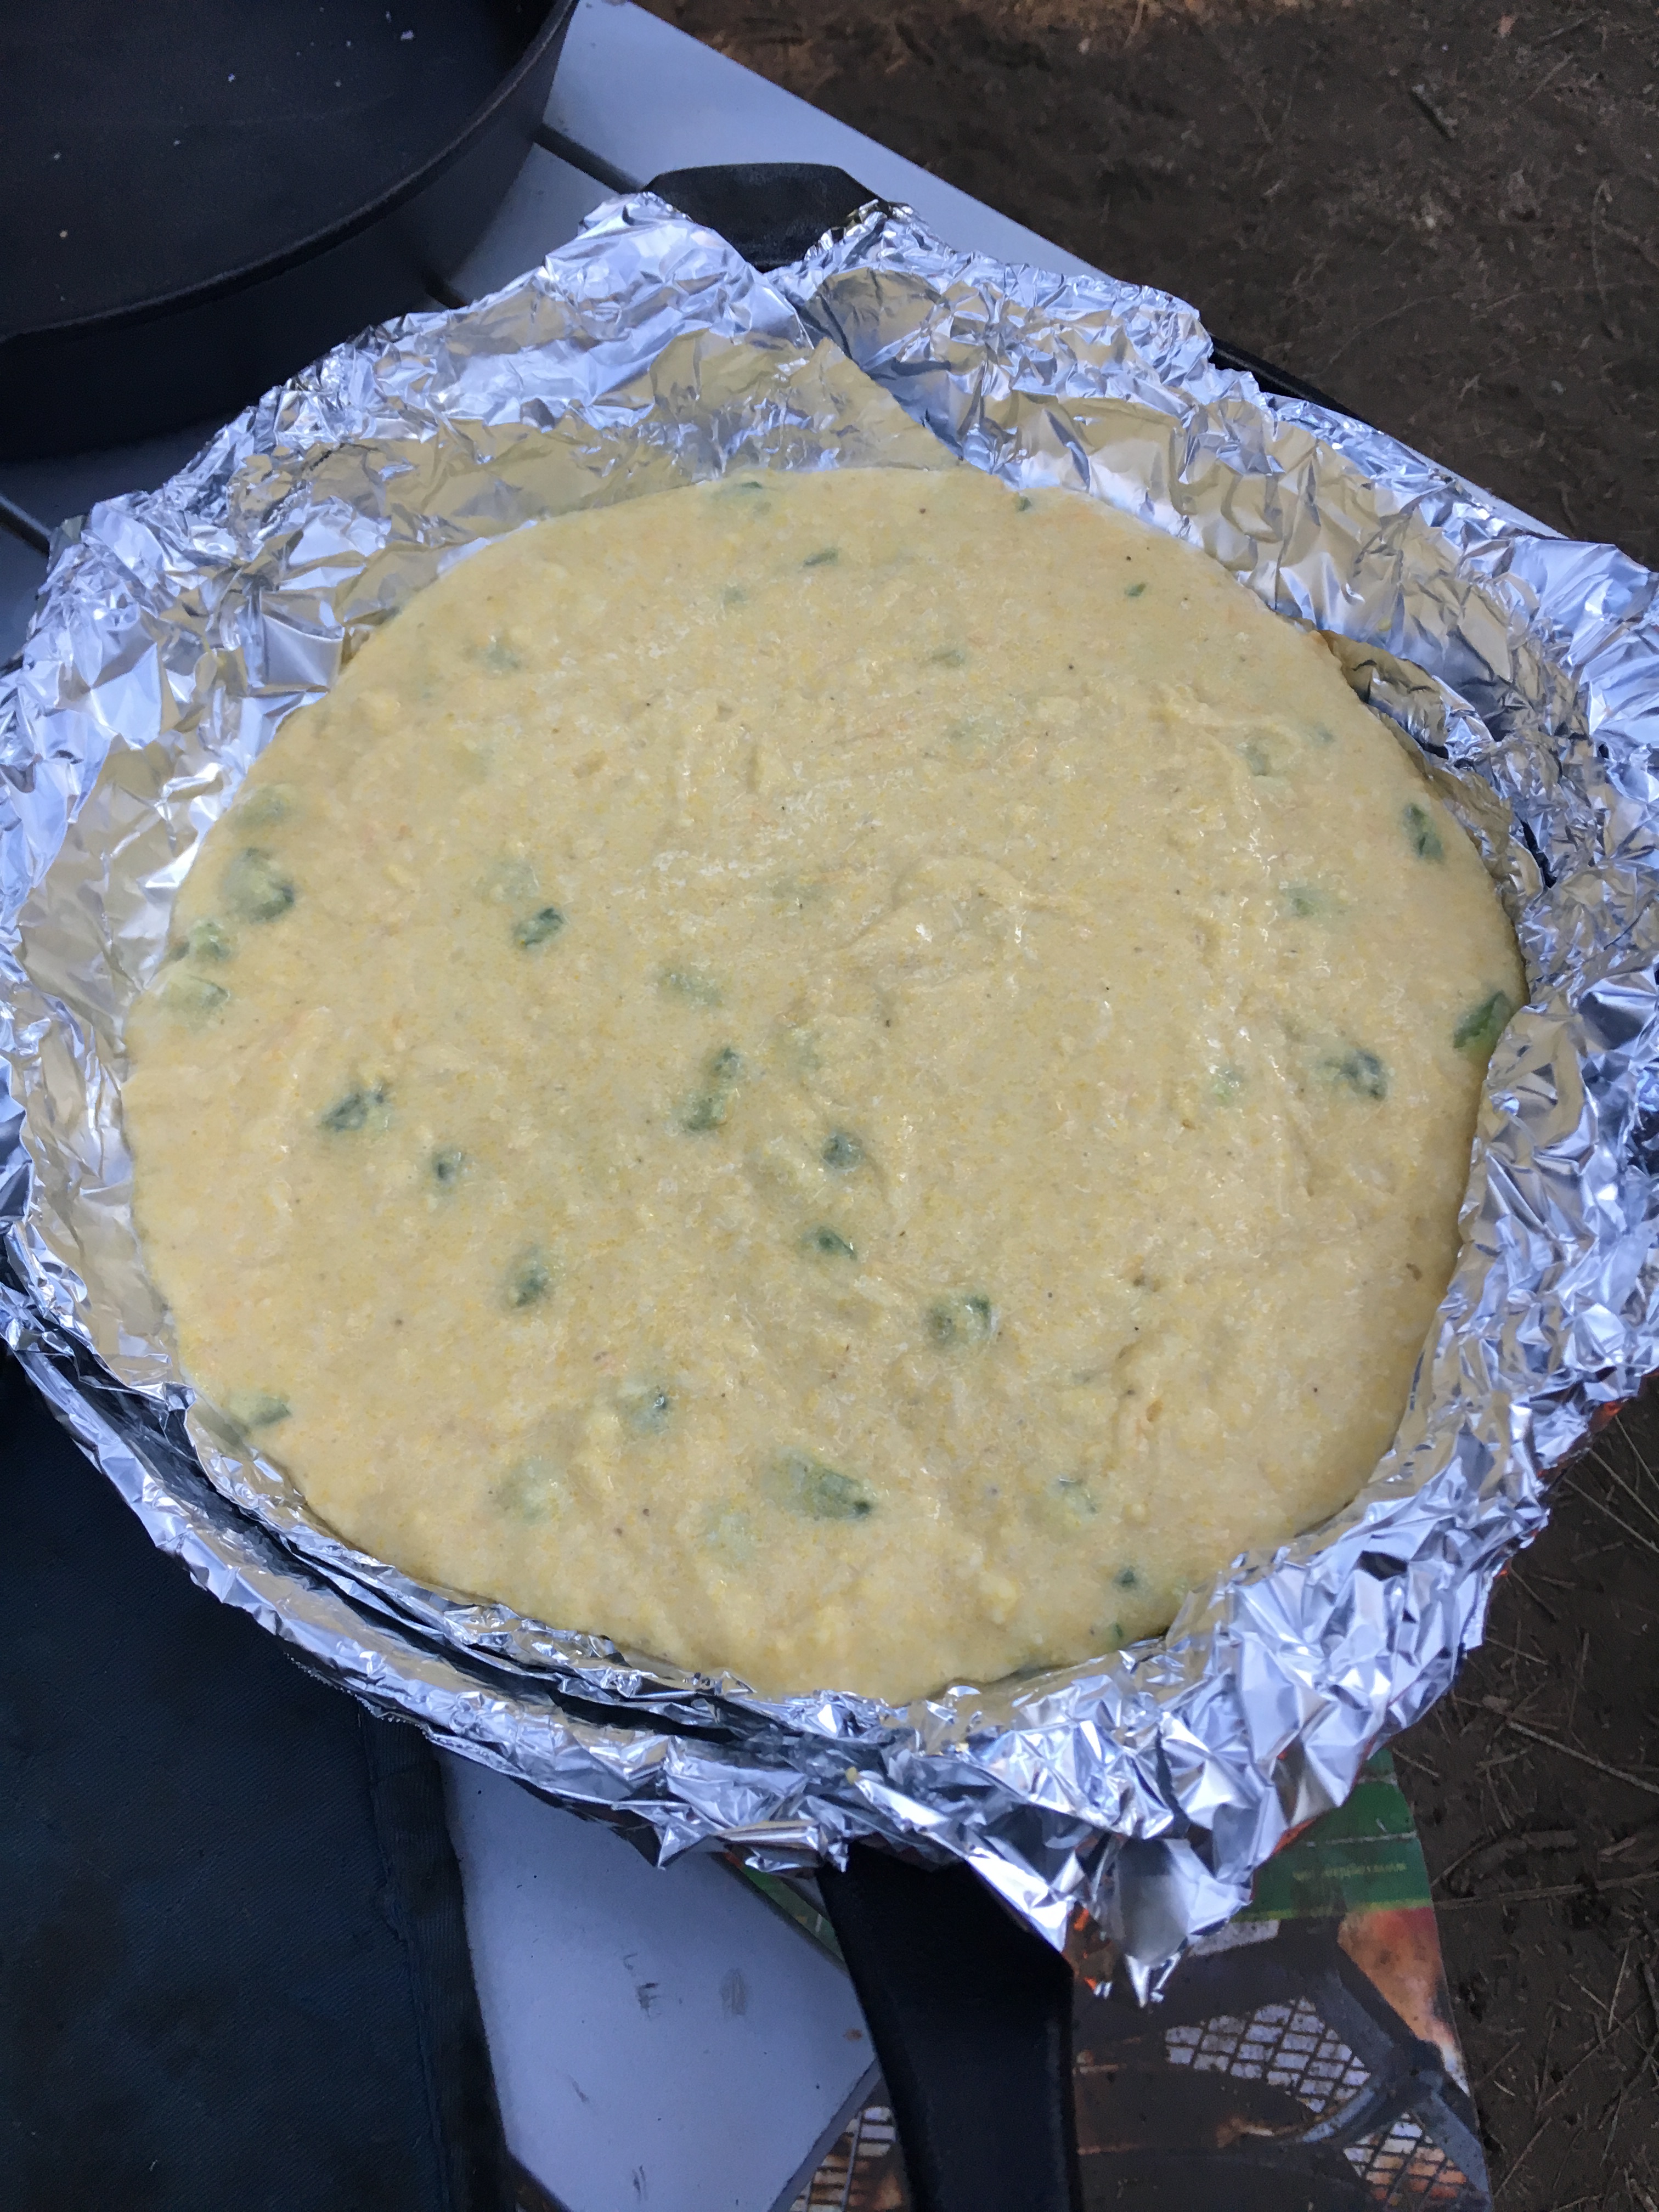
A lot of camping trips I like to make chili the last night. What goes best with chili but cornbread! I like to spice up my cornbread with jalapeños but if you want plain omit those and the cheese. Also feel free to add any of your favorites!

Ingredients

  • 2 eggs
  • 2/3 c. Buttermilk (or milk)
  • Chopped jalapenos
  • Cheddar cheese
  • 2 tbls honey (optional)

Directions

  1. Mix corn mix, eggs and milk in a bowl and stir until well blended
  2. Add honey (if desired), chopped jalapeños, and shredded cheddar or mexican cheese
  3. Stir again until combined
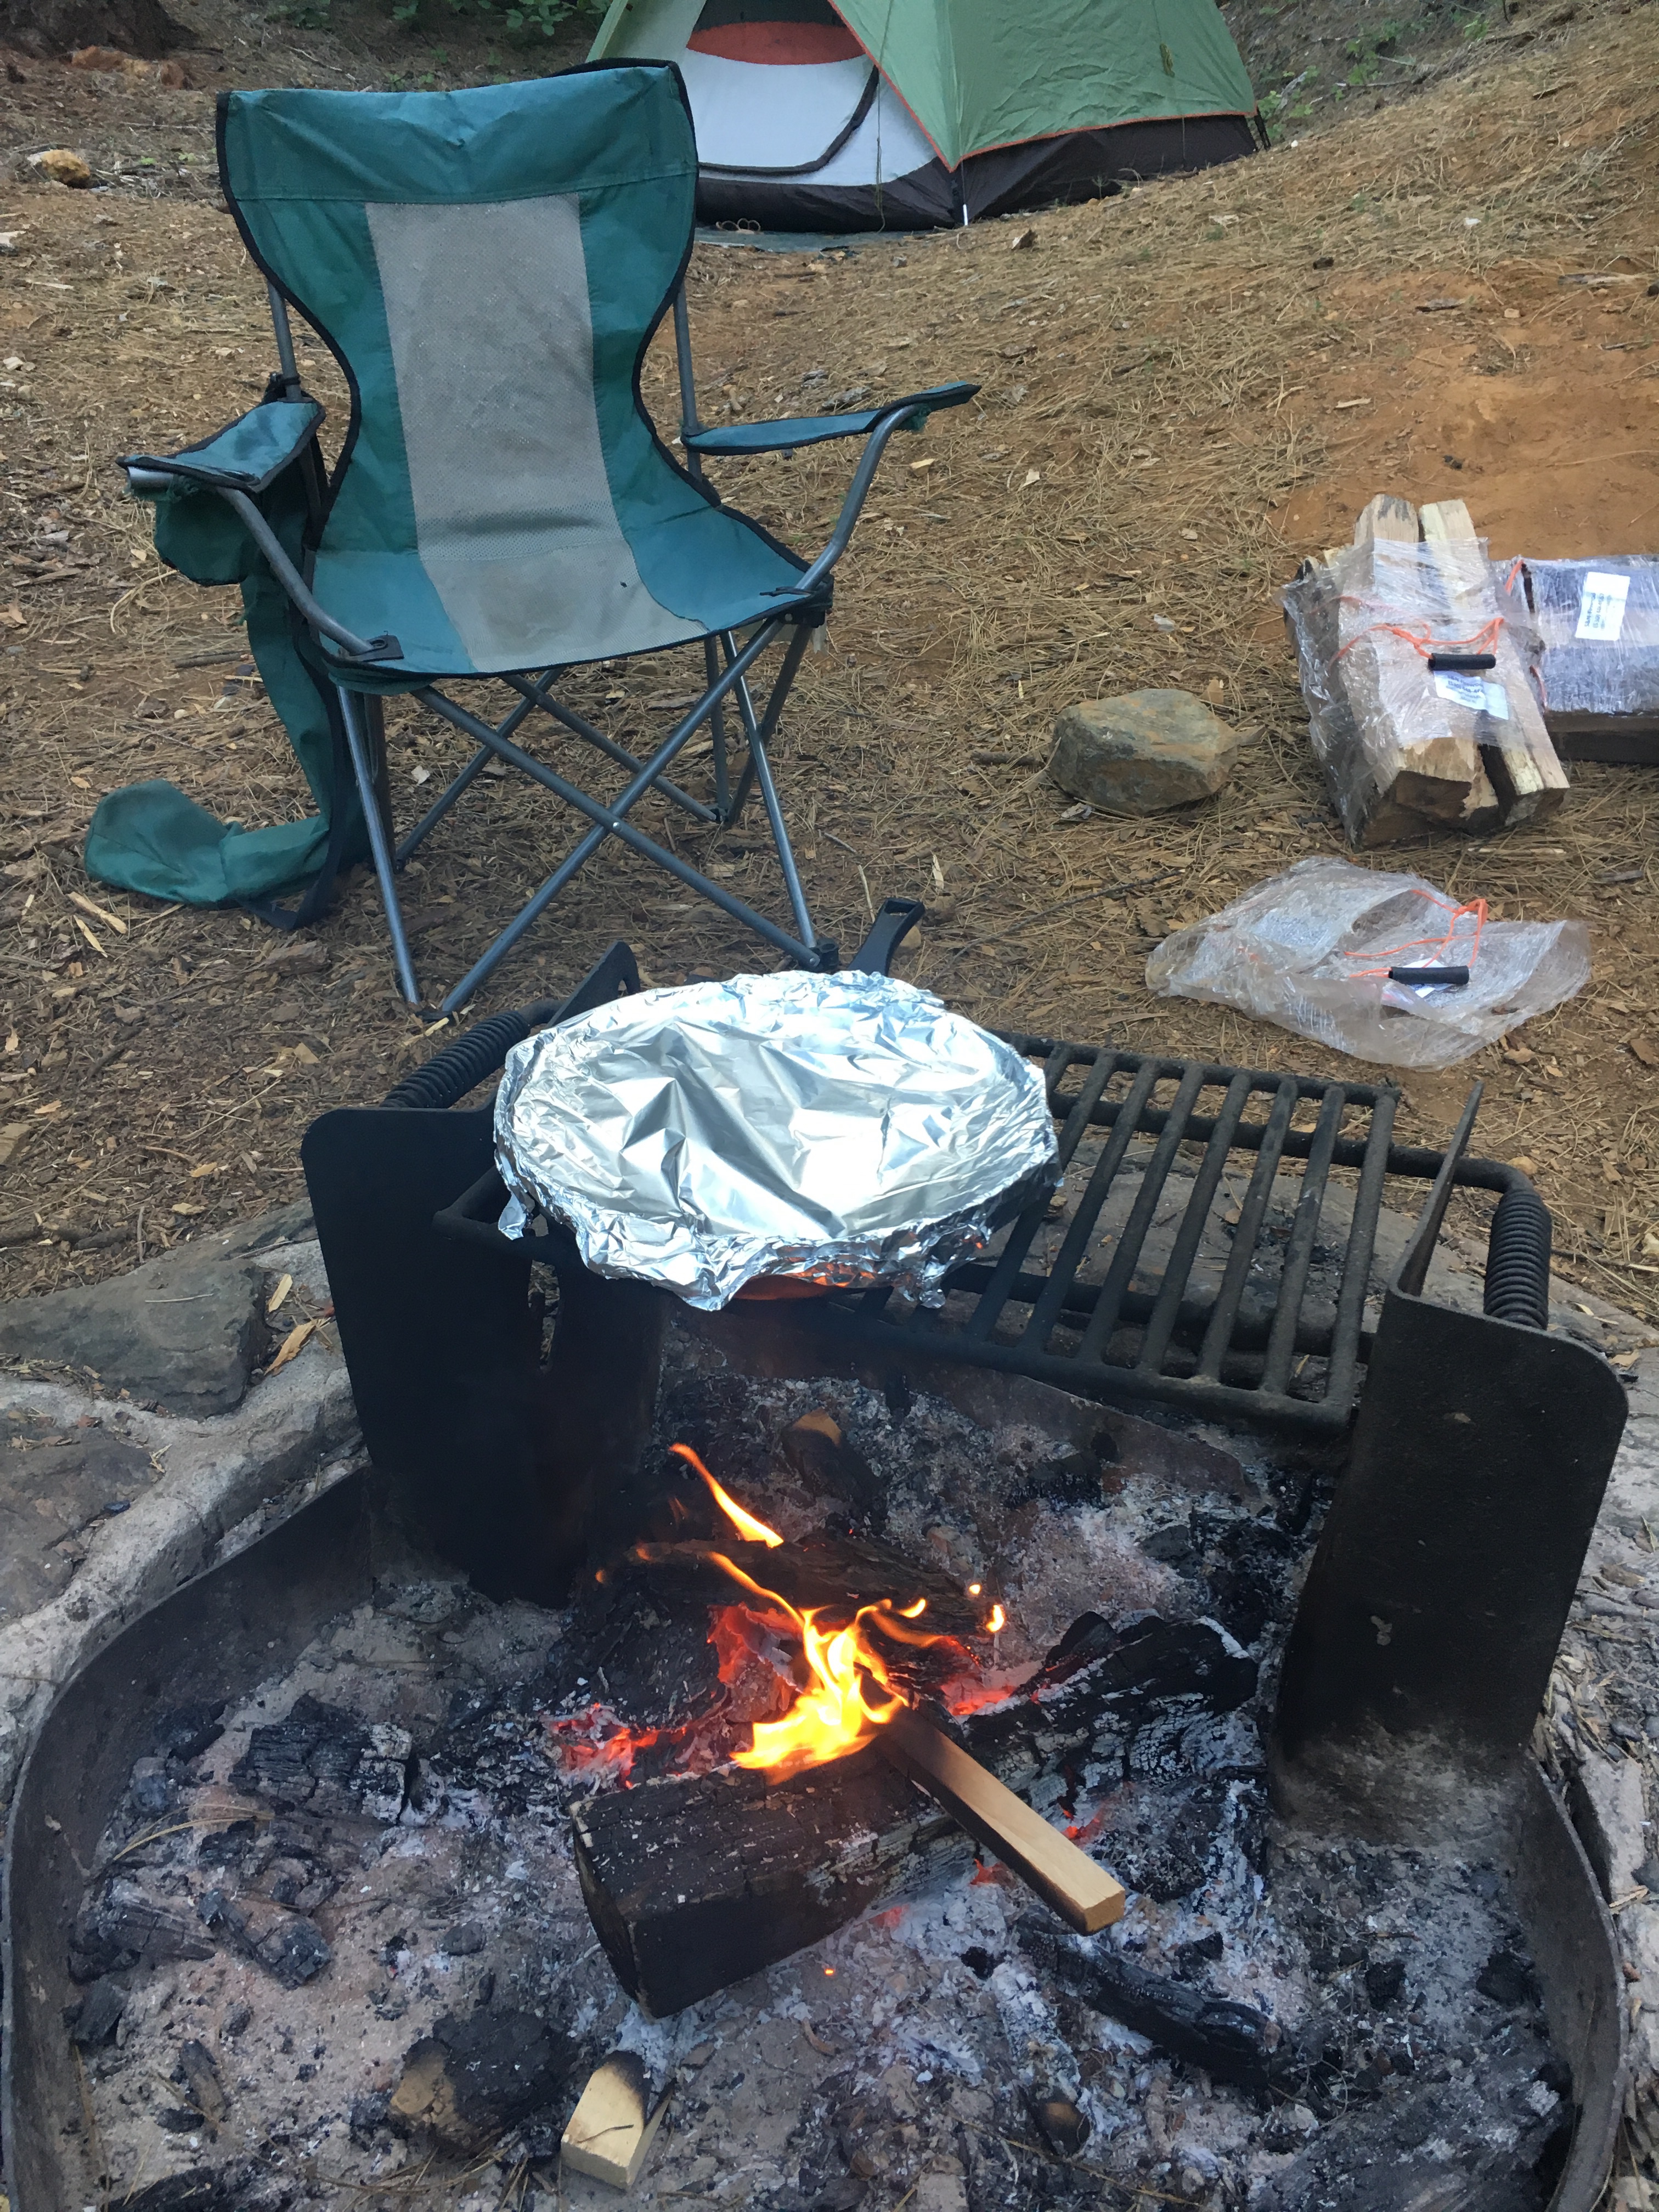
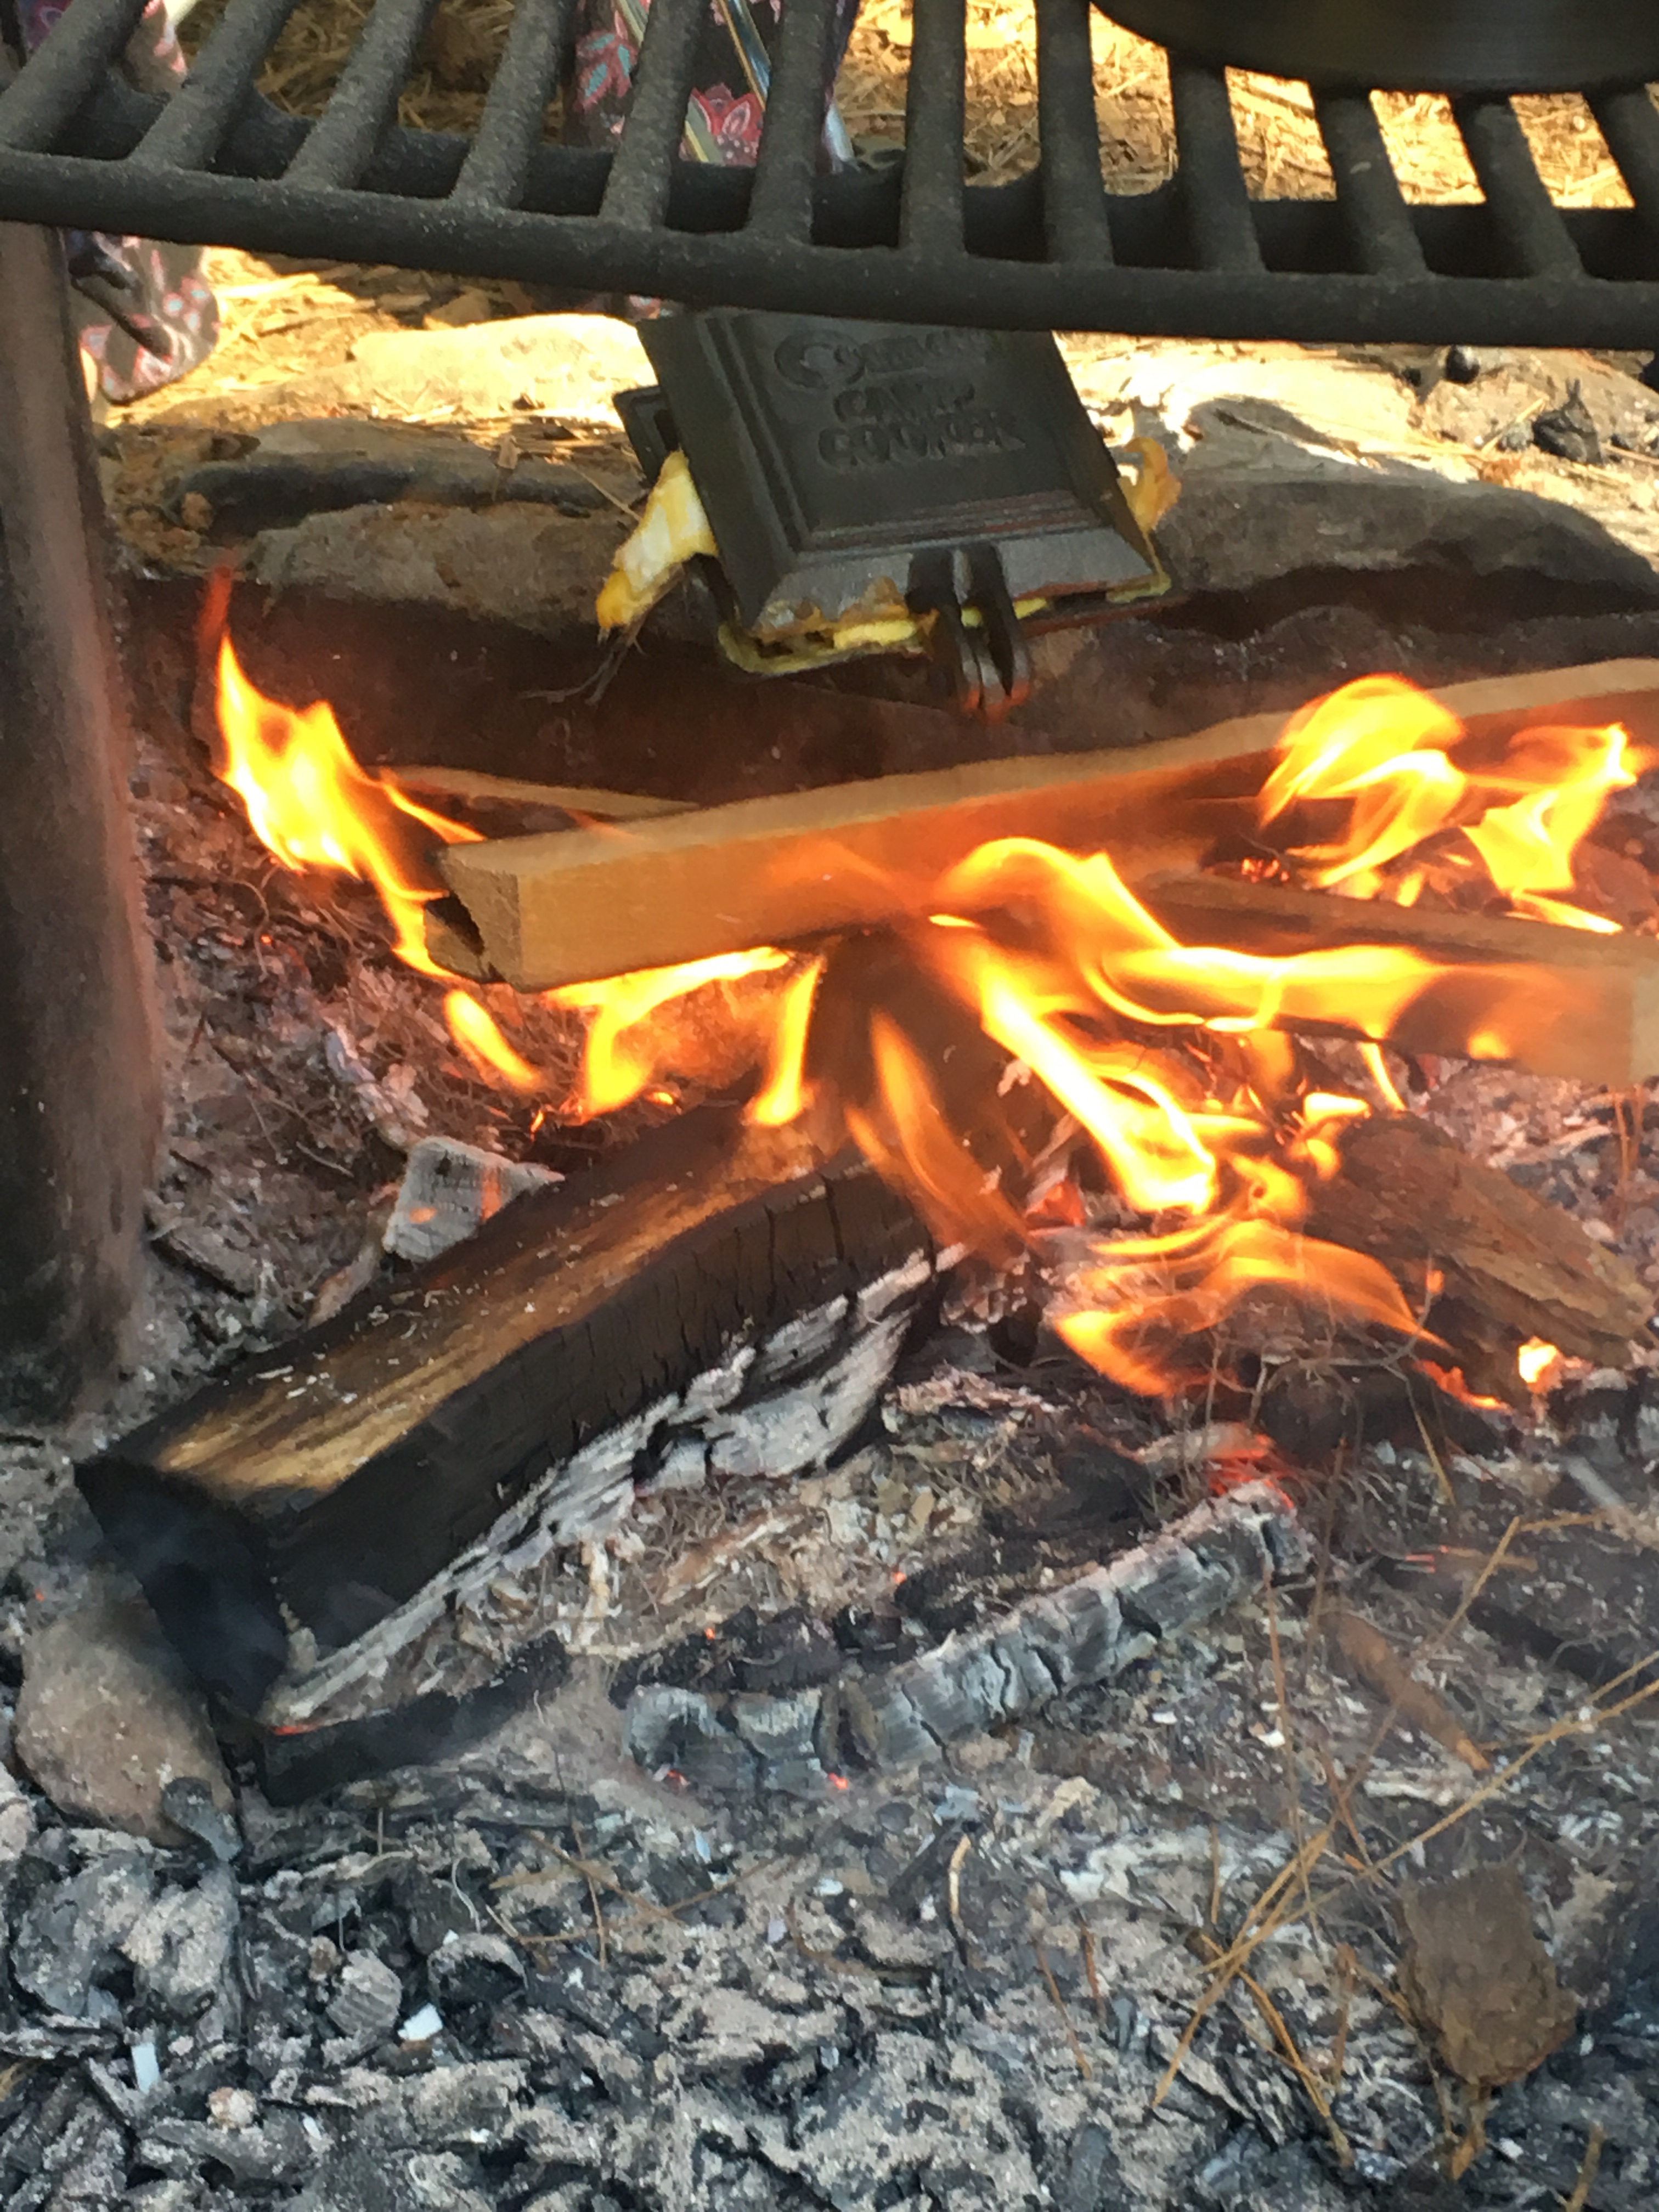
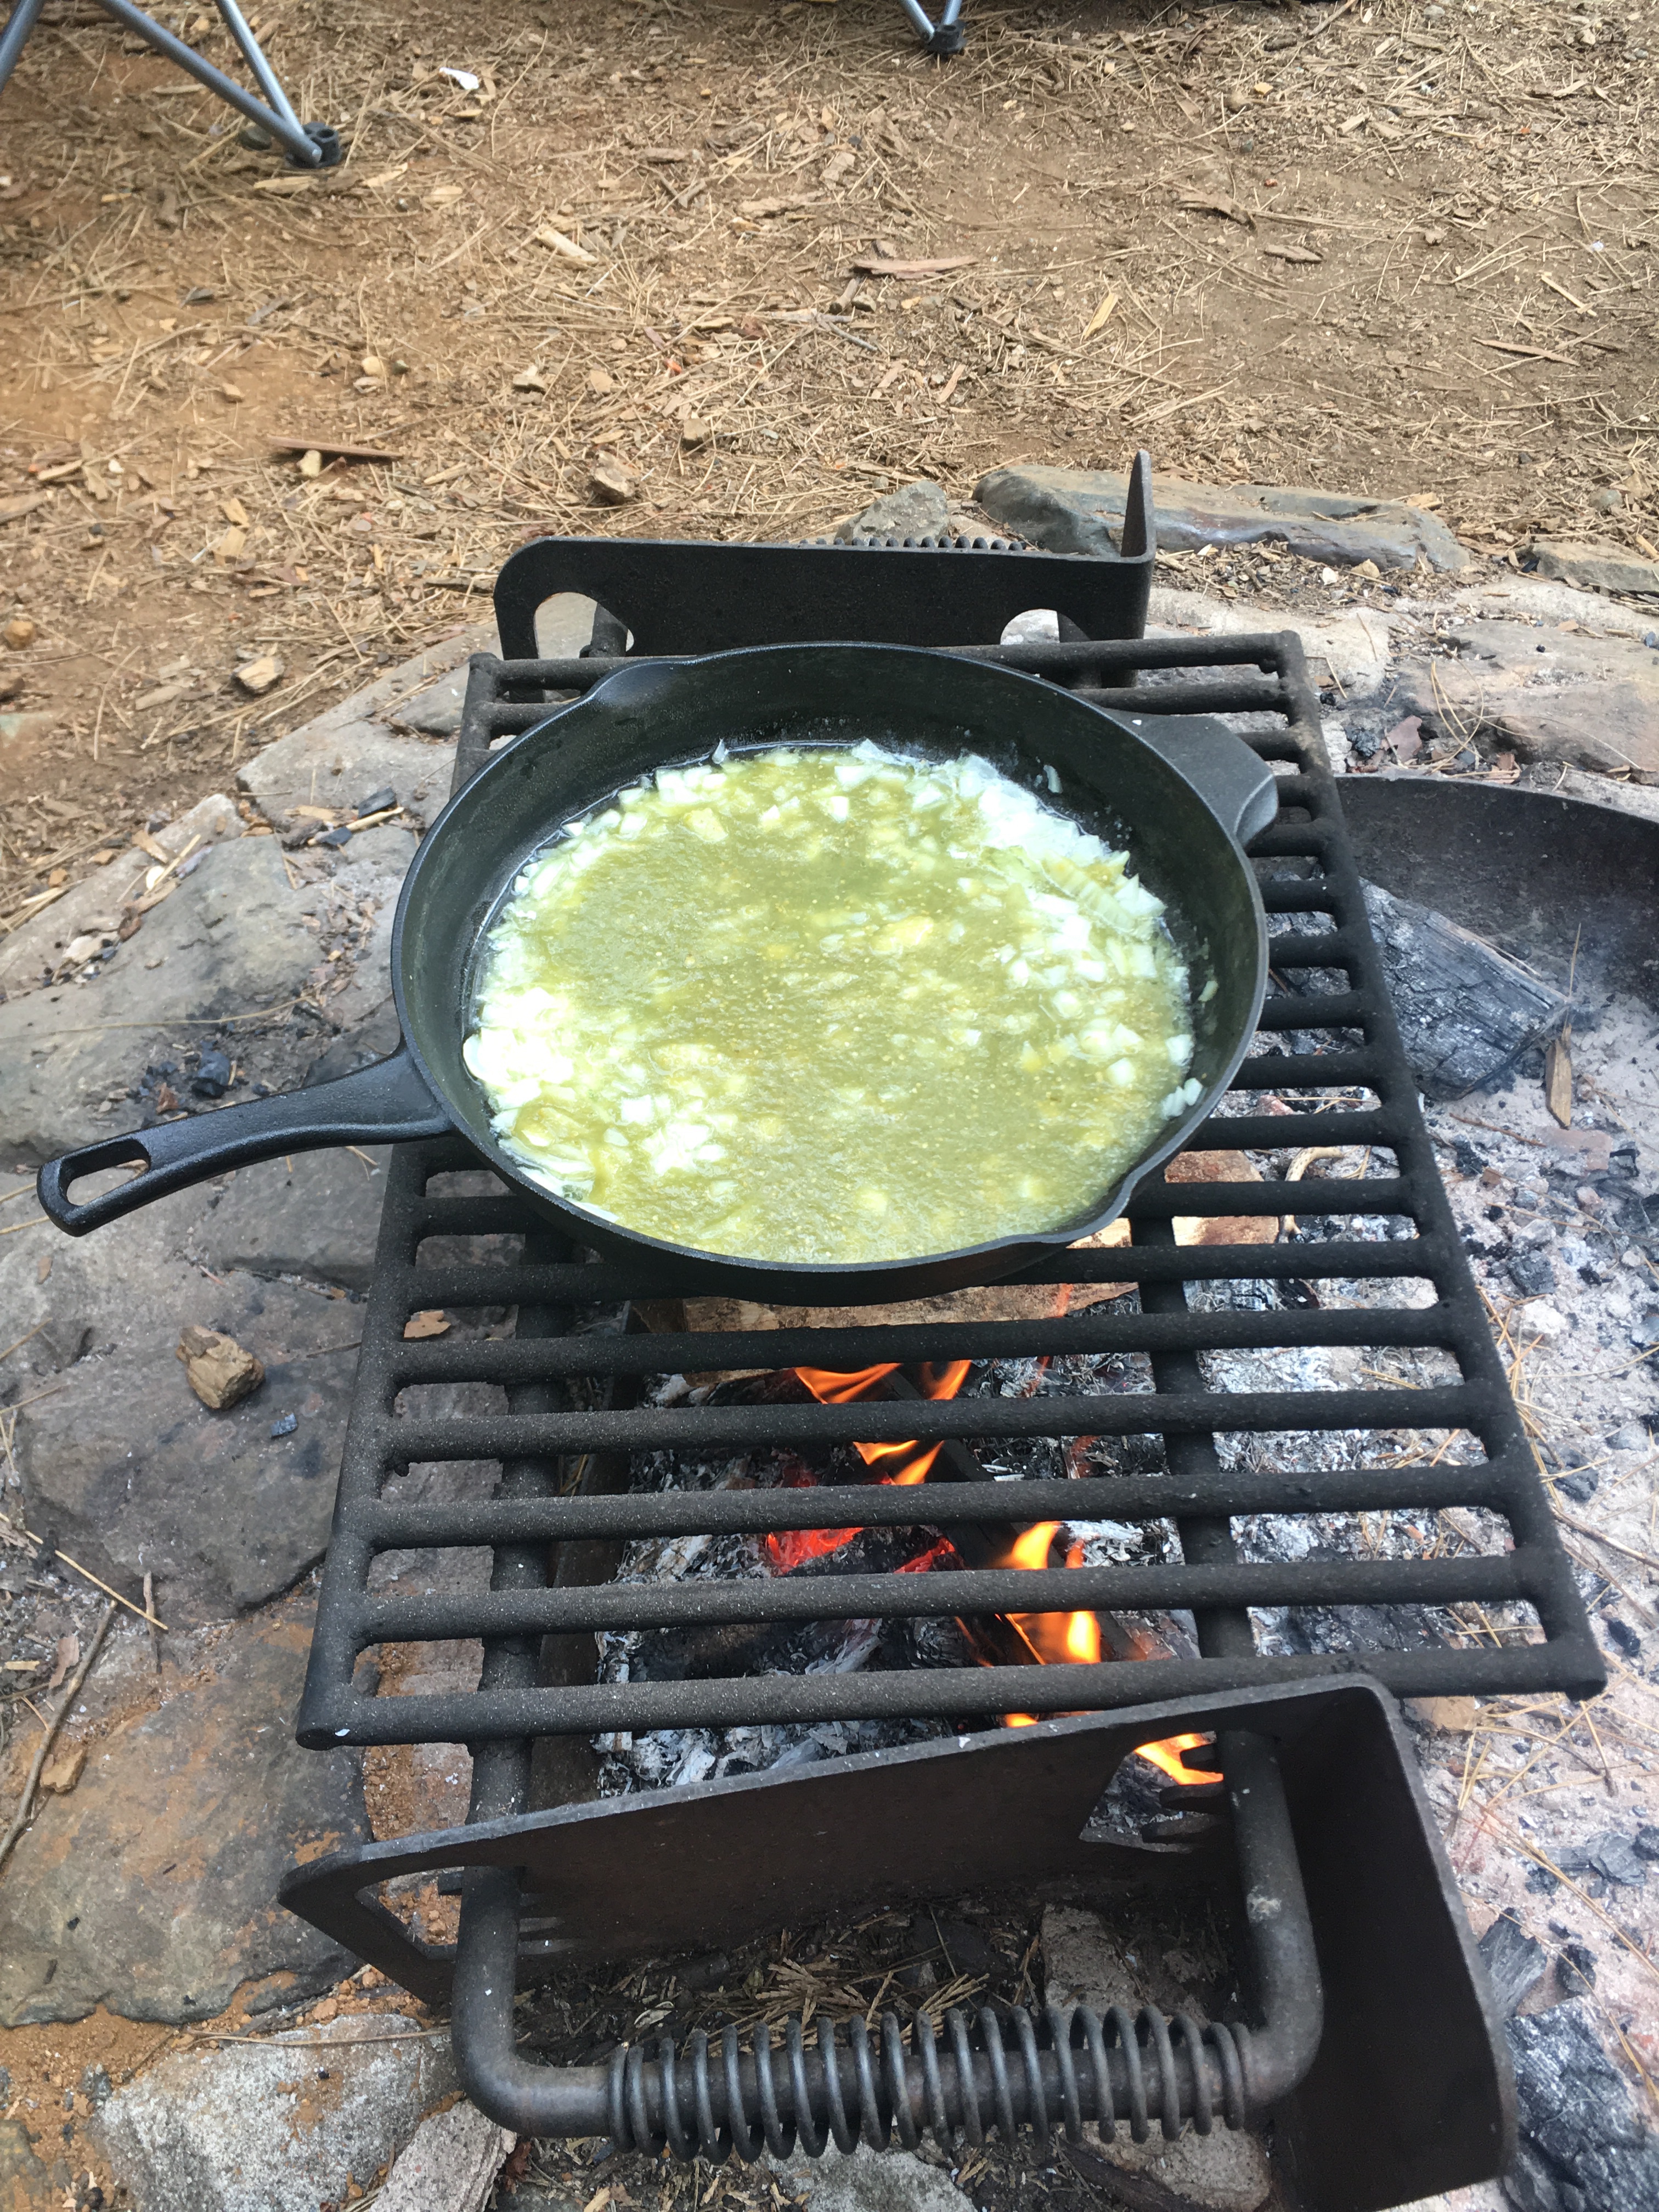
  4. Add 2 – 4 tbls butter in a cast iron pan over campfire
  5. Swirl butter around in pan until melted
  6. Add cornbread to middle of pan and spread evenly around the pan with a spatula
  7. Cover pan with foil
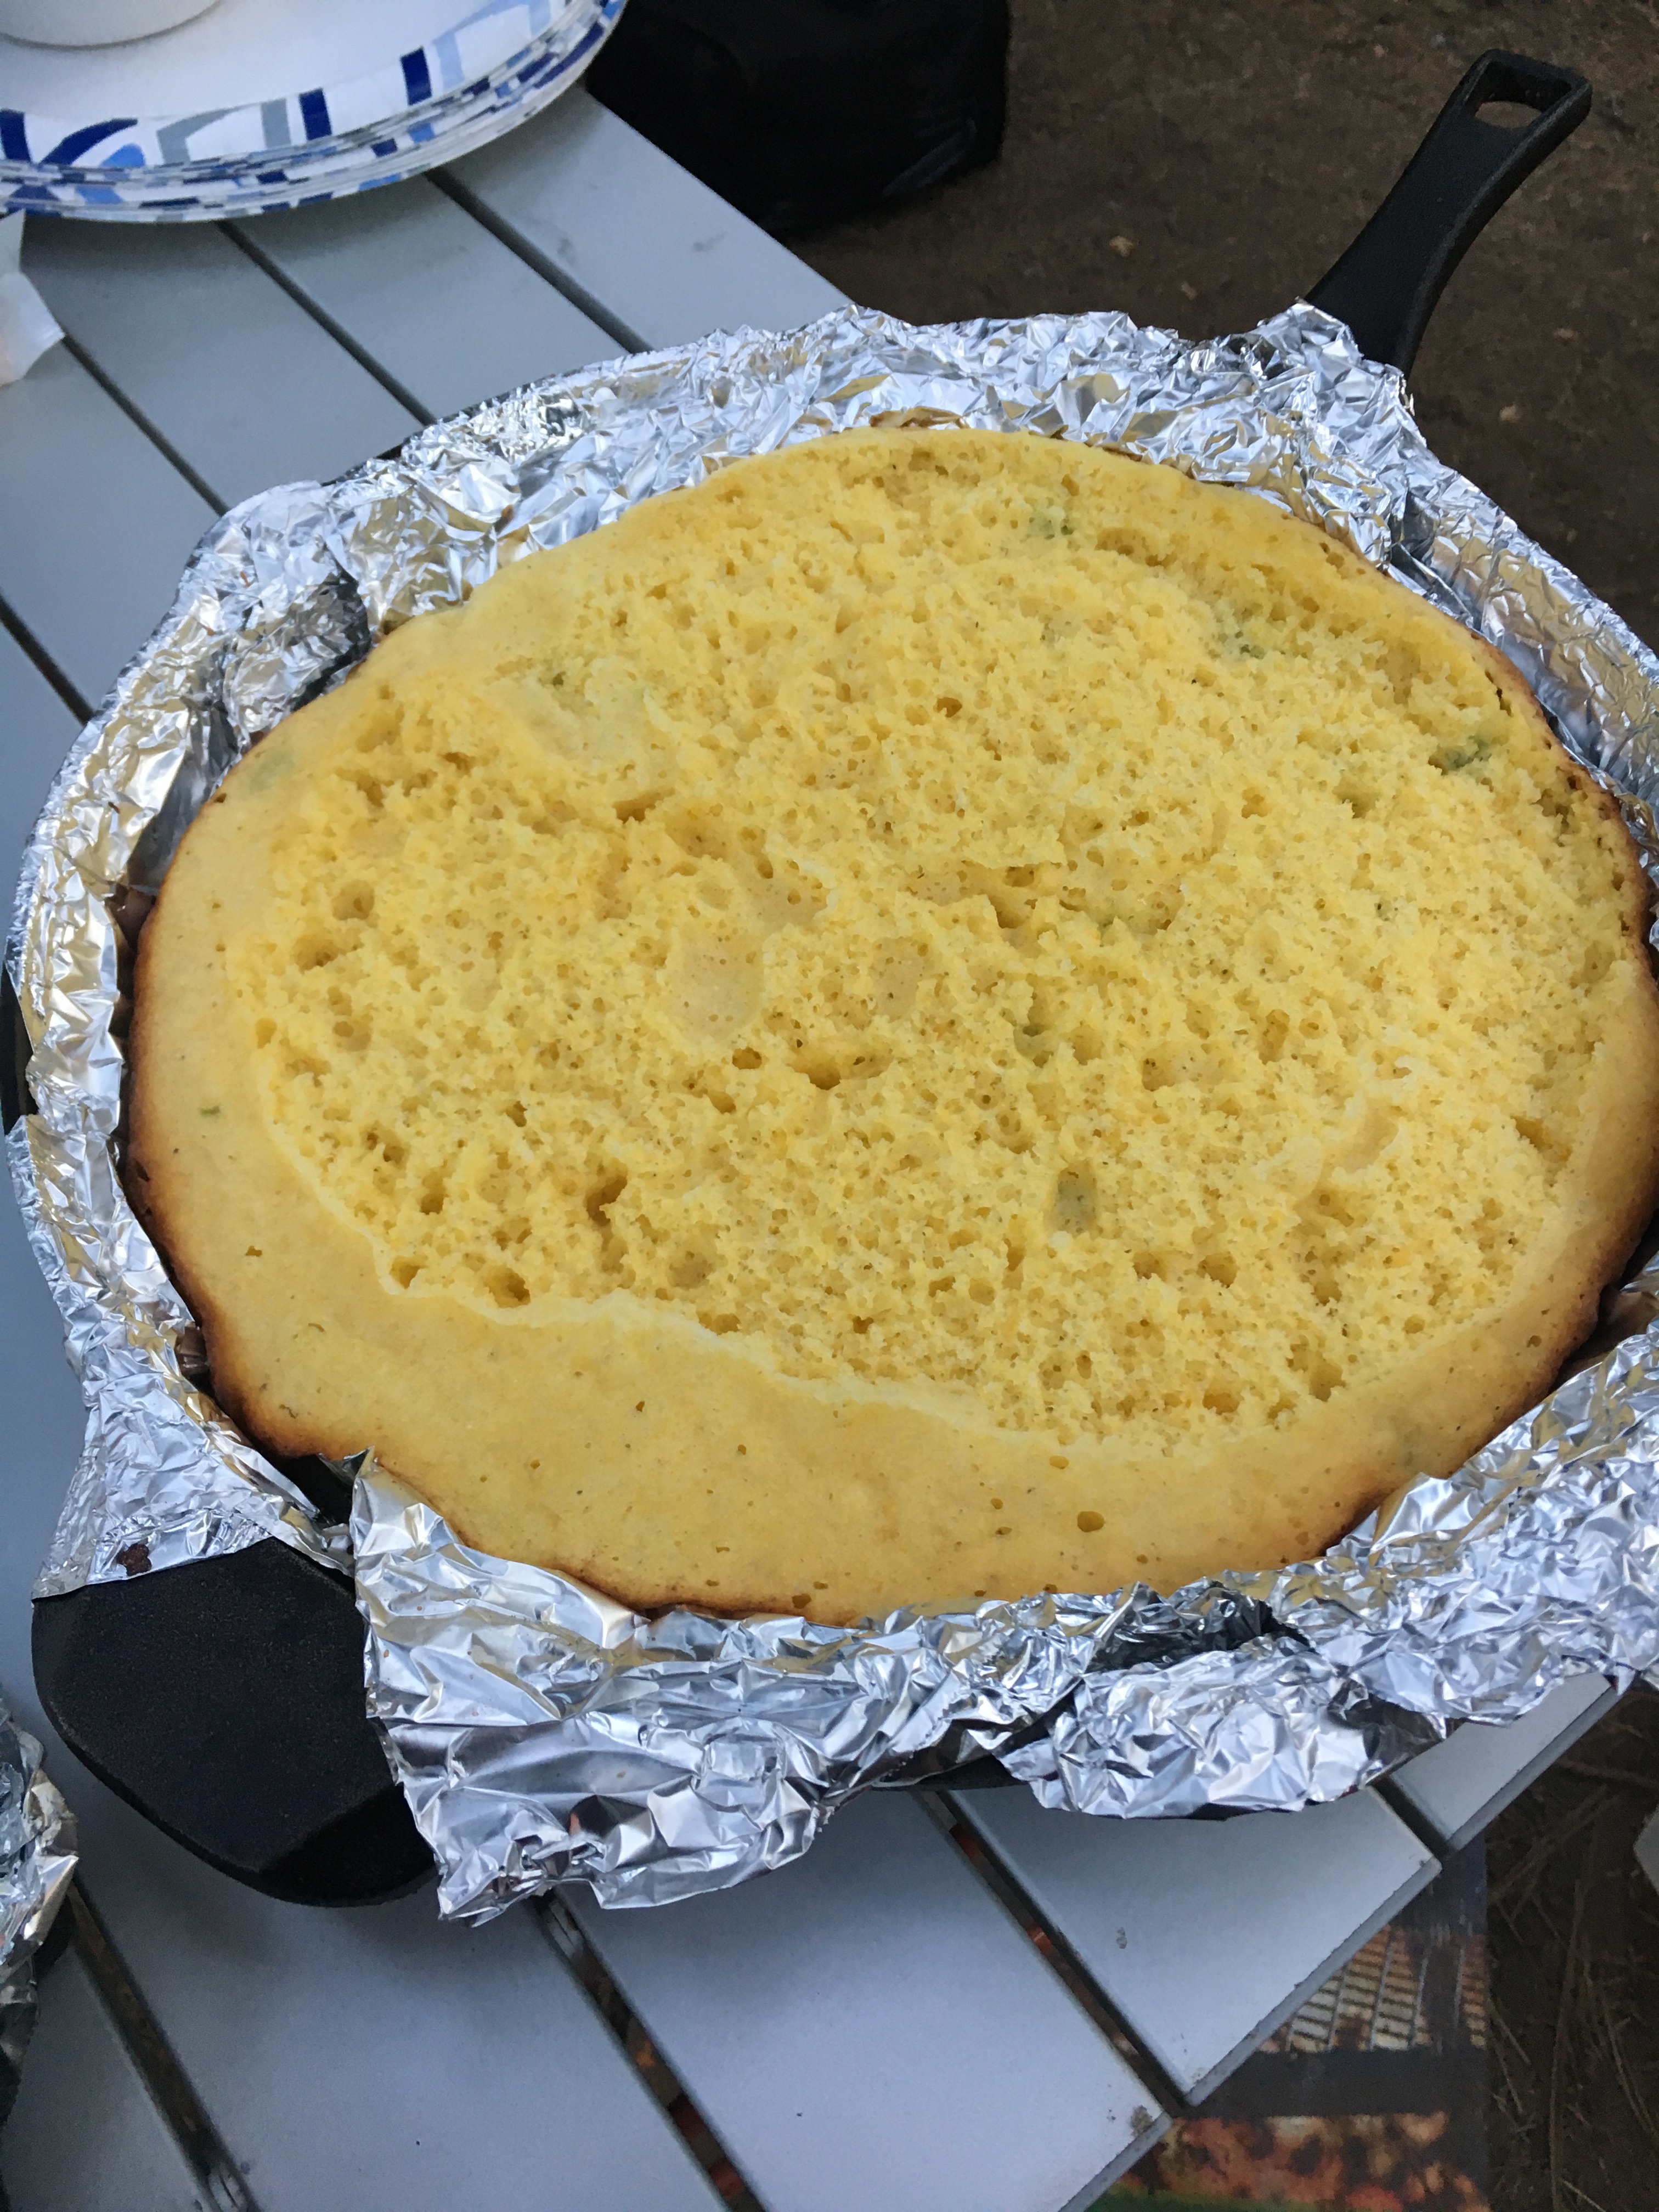
  8. Cook medium-low heat away from direct flame for about 15 minutes or until sides start to tan
  9. Let pan rest covered for about 5 minutes
  10. Cut into slices and serve!

* Note: if you want to have easy cleanup, add foil to the bottom of the pan and skip the melted butter step. Just pour directly into foil lined pan. I usually like easiest cleanup on the last night!

I would love feedback! If you have tried this recipe, please rate below and/or comment!

Rating: 5 out of 5.

Campfire Southwestern Chicken Rice

I always love making Mexican dishes while camping because I always have the ingredients on hand and it’s always a crowd pleaser. On a camping trip this summer, I decided to branch out a little and try to make rice. I was nervous how this would do in my cast iron pan but then I saw these mini chicken broth containers at the store and knew I needed to try. They are small so they don’t take up much space which is great when camping but also you don’t have to feel like you are wasting a lot with a big container or not using a whole can. For the broth I used almost two small ones but I would definitely just gauge with the dry ingredients (veggies, chicken, rice) vs. liquid ratio. Also, for this recipe I used chicken that I cooked at home before the trip. Before any camping trip, I roast a small chicken in my oven for about 2 1/2 hours and then let it cool. Once cooled, I shredded the chicken and store in a ziploc bag. Once at the campsite, you have cooked chicken you can add to a lot of your meals if you would like.

Ingredients-

  • 1 cup rice
  • 1 cup salsa
  • 2 cups chicken (pre-cooked) – I roast a chicken before the trip and shred pieces into a ziplock so you can add to anything
  • 1 can black beans (or pinto)
  • Red bell pepper
  • Green bell pepper
  • 1/2 yellow onion
  • Fajita spice mix
  • 1 3/4 cup chicken broth
  • Mexican shredded cheese
  • Cilantro (optional)

Directions –

  1. Chop bell peppers and onion
  2. Add all ingredients to a cast iron pan
  3. Cover with foil
  4. Heat to a boil (check periodically by lifting a small corner of the foil)
  5. Once boiling, let simmer for 15 minutes
  6. Remove cover and add cheese and then re-cover
  7. Heat another 5 minutes until cheese is melted
  8. Remove and fluff
  9. Top with cilantro if desired or have extra at campsite to use

I would love feedback! If you have tried this recipe, please rate below and/or comment!

Rating: 5 out of 5.

Fresh and Simple Salads for Camping Adventures

I find salads easy to do for camping since almost everything can be prepped before the trip, stored and then just thrown together at the campsite. Also they go great with almost anything. I like to serve this one with my campfire lasagna and garlic bread recipes

Ingredients

  • 6 cups arugula (store in ziploc bags prior to trip)
  • 1 bulb fennel, thinly sliced (store in ziploc bags prior to trip)
  • 1 to 1 1/2 cup pomegranate seeds
  • 1/2 cup – 3/4 cup shaved Parmesan cheese
  • 1/3 cup olive oil
  • 1 lemon
  • 1/2 cup pepitas
  • 1 lime
  • Salt
  • Pepper
  • Cayenne

Directions

Note: I do the first four steps before camping trip and store in a small mason jars

  1. In a small bowl, combine juice of half of lime, pepitas and dash of cayenne. Stir until combined
  2. Heat oil in a small sauce pan over medium heat. Add limed pepitas and toss frequently until lighter color and toasted
  3. Coat with juice from other half of the lime and stir to combine. Remove from heat and let cool. Store in a small mason jar if making prior to trip
  1. Make dressing by combining olive oil, juice from a lemon and salt and pepper (to taste). Store in a small mason jar prior to trip
  2. Combine in a large bowl, arugula, fennel, pomegranate seeds and shaved Parmesan.
  3. Drizzle with dressing and toss until coated
  4. Top with limed pepitas and serve!

I would love feedback! If you have tried this recipe, please rate below and/or comment!

Rating: 5 out of 5.

Easy Campfire Banana Boat Recipe for S’mores Lovers

Getting ready to go on a REI camping trip this weekend and they are providing free s’mores that I can’t wait for. Nothing like camping with s’mores but what about changing it up with banana boats! Super easy to make and delicious

Ingredients

  • Bananas
  • Milk or dark chocolate chips
  • White Chocolate chips
  • Mini marshmallows
  • Really anything your heart desires!

Directions

  1. Cut open banana down the middle, lengthwise, keeping the skin on
  2. Open the peel to create a pocket
  3. Place banana in a packet of foil, la
  4. Fill with the toppings of your choice
  5. Crimp foil to cover the banana
  6. Place on campfire for about 10-15 minutes until warm and marshmallows have melted

I would love feedback! If you have tried this recipe, please rate below and/or comment!

Delicious Campfire Breakfast Sandwich Recipe

Last Christmas one of my sisters and her husband got me a new camping tool.  So last December, I started looking up ideas on what to use it for and breakfast sandwiches were my first thought.  Even though we believe there are no calories during camping, I still went with a healthier turkey breakfast sausage vs. other meats but you can use whatever type of breakfast meat patties you are craving.  If you would like to do turkey breakfast sausages, please check out my previous recipe post here – Homemade Turkey Breakfast Sausages

Ingredients

  • Breakfast sausage patties
  • Eggs
  • English muffins
  • Sliced American cheese
  • Cast iron cooking iron like this one

Directions

  1. Scramble eggs in a pan either on campfire or propane grill if you have one
  2. Warm (or cook if you didn’t make ahead) the breakfast sausages
  3. Assemble sandwiches by layering a sliced English muffin on the bottom of the cast iron, top with a meat patty, some scrambled eggs, a slice American cheese and top with the top of the English muffin
  4. Close cast iron cooking iron and hold over the campfire for about 5 – 8 minutes until the cheese has melted and the English muffin is toasted
  5. Remove and add hot sauce (if you are into that type of thing) and enjoy!

I would love feedback! If you have tried this recipe, please rate below and/or comment!

Rating: 5 out of 5.

Make-Ahead Breakfast Sausage for Camping

So while you can definitely make these simply at your campsite with the ingredients and a bowl, I like to make ahead to save time in the morning. You can also freeze these after making which helps keep the cooler cold

I am also lucky to have Oaktown Spice Shop locally and highly recommend their spice blends especially this breakfast sausage one. Yes, you can make your own spice blend but theirs is so tasty, I haven’t made one in years!

Ingredients

  • 1 lb. ground turkey
  • Salt
  • Oaktown Spice Shop Breakfast Sausage blend
  • Maple syrup (optional)

Directions

  1. Knead 2 tsp. salt into 1 lb. ground turkey for a few minutes in a large bowl
  2. Add 2 tbsp. of breakfast sausage spice and mix together with hands
  3. Add 1-2 tsp. maple syrup depending on how sweet you like making sure patties remain sticky
  4. Form into small patties
  5. Heat oil in a fry pan
  6. Add patties to pan and cook for about 5 minutes
  7. Flip and cook for another 5 minutes or until the center is 165 degrees
  8. Add to freezer bags if storing in freezer or can keep in refrigerator for 3-4 days

I would love feedback! If you have tried this recipe, please rate below and/or comment!

Delicious Camping Breakfast Chilaquiles

I just recently tested out this new take on camping breakfast and it was a huge hit!  I might test with different ingredients over time but this recipe was so great, I don’t need to.

Ingredients –

  • Corn Tortillas
  • Oil
  • Yellow Onion, chopped
  • Salsa verde (1 1/2 – 2 small cans)
  • Eggs
  • Queso fresco, crumbled
  • Cilantro
  • Radishes, sliced (optional)
  • Avocado, sliced (optional)

img_0721

img_0720

img_0722

img_0724

Directions –

  1. Add oil to a small skillet.  Once heated, add one corn tortilla and fry until crispy (about 3-4 min).  Flip and fry other side until crispy.  Remove and place on plate with paper towel – *Note: This step was done on my propane grill just for convenience but can be done on a campfire in a cast iron
  2. Cut each fried tortilla into 8 triangles
  3. In a cast iron pan over a campfire, heat oil and then add onions and saute
  4. Add salsa verde to pan and put over direct heat of the fire
  5. Once it begins to bubble, stir in beaten eggs – Since I pour my eggs into water bottles before the trip, this just requires pouring into pan
  6. Stir eggs periodically until thicken
  7. Add chips and toss gently until they are covered in sauce
  8. Remove from campfire
  9. Sprinkle with cheese
  10. Top with extra onions, cilantro, radishes and sliced avocado

img_0728

I would love feedback! If you have tried this recipe, please rate below and/or comment!

Rating: 5 out of 5.

DIY Bug Spray Recipe for Camping

Ok so I know this is not a food recipe (please don’t try to eat this 😉) but don’t worry more recipes coming shortly. I’m preparing this week for our first camping trip of the season and with the new season, I needed to make new bug spray and thought I would share! This year I also made rollerball ones for myself and my friends.

I’ve recently gotten into trying different essential oils and I have really been enjoying Plant Therapy. They have all been great oils and the shipping has always been pretty fast.

So here is my go-to homemade bug spray –

  • 1 4 oz. spray bottle
  • 50 drops lemongrass
  • 50 drops citronella
  • 50 drops eucalyptus
  • 10 drops clove

I usually do like 1/3 recipe, swirl around, sniff and decide if I want more of one of the scents. Also you can add a little lavender if you like. I usually keep adding proportional until there is about 1/2 inch to 3/4 inch of oils in the bottom.

Next add water you would drink (distilled, filter, water that has been boiled and cooled) and add the top. Shake and spray!

I would love feedback! If you have tried this recipe, please rate below and/or comment!

Rating: 5 out of 5.

Perfect Cheesesteak Recipe While Camping

We normally just do sandwiches and snacks for lunches since so much is put into breakfast and dinners. However if you feel like going a bit gourmet for lunch, I’ve made this sandwich recipe a thousand times and it’s easy enough to do in the wild and perfect after a long hike that works up your appetite.

Ingredients –

  • 2 Bell peppers – red, green, orange – whatever you feel like – sliced
  • 1 White onion, sliced
  • Handful of Mushrooms, sliced (optional)
  • 1 1/2 – 2 lbs. of deli roast beef, sliced
  • Italian dressing (fat free also works if you want to cut some calories)
  • 1 package of French rolls
  • Provolone cheese, sliced
  • Pepper Jack cheese, sliced

**One note, I would use a propane grill for this. We don’t normally make a fire for lunch because it’s so hot but you could essentially do these same steps over a campfire

Directions –

  1. Slice up the onion, bell peppers and mushrooms (if using)

  1. Heat a little bit of oil to a pan
  2. Add sliced onions and bell peppers and heat under tender

  1. Add mushrooms and roast beef to pan until mushrooms are tender
  2. Dress each side of bread with Italian dressing
  3. Arrange sandwiches with meat, onions, bell peppers and mushrooms
  4. Top each with a slice of provolone and a slice of pepper jack
  5. Place sandwiches on grill on low heat and close – if you were doing on a campfire, I would place them in a cast iron and cover with foil to keep the heat in
  6. Heat just a couple of minutes until cheese has melted
  7. Serve up with chips and/or salad!

I would love feedback! If you have tried this recipe, please rate below and/or comment!

Rating: 5 out of 5.

Make-Ahead Brownies for Your Camping Trips

We love brownies when camping. Whether to just snack on during the day or to add to s’mores cones or banana boats for dessert in the evening (recipes to come later). After all, calories don’t count when camping, right?

We used to get the brownie bites from Costco or Safeway but then I realized I have a great recipe everyone loves so why not just make ahead. Super quick to make and so much better than store bought! Also you can pre-measure out the dry ingredients into multiple mason jars during some down time saving you time the week of camping to whip together. Just dump dry ingredients into a bowl, add eggs, butter, water and vanilla and bake for about 20 minutes!

Ingredients –

  • 1 2/3 C. granulated sugar
  • 3/4 C. cocoa
  • 1 1/3 C. all-purpose flour
  • 1/2 t. baking powder
  • 1/4 t. salt
  • 3/4 cup melted butter
  • 2 large eggs
  • 2 tablespoons water
  • 2 teaspoons vanilla

Directions –

  1. Preheat over to 350 degrees
  1. Mix together dry ingredients
  2. Add melted butter, eggs, water and vanilla and mix until well blended
  3. Spray a 13×9 baking dish and spread the brownie mixture evenly in it
  1. Bake for about 18-20 minutes or until a toothpick inserted comes out clean
  1. Remove and let cool in pan

I would love feedback! If you have tried this recipe, please rate below and/or comment!

Rating: 5 out of 5.